
Carbon Recumbent Workshop 2004
August 2004
Carbon recumbent building; Comp-Let, Senica, Slovak Republic
Update April 2005
None of us have finished the bikes so far due to lack of time. The finishing is now scheduled for summer 2005.
Update April 2005
None of us have finished the bikes so far due to lack of time. The finishing is now scheduled for summer 2005.
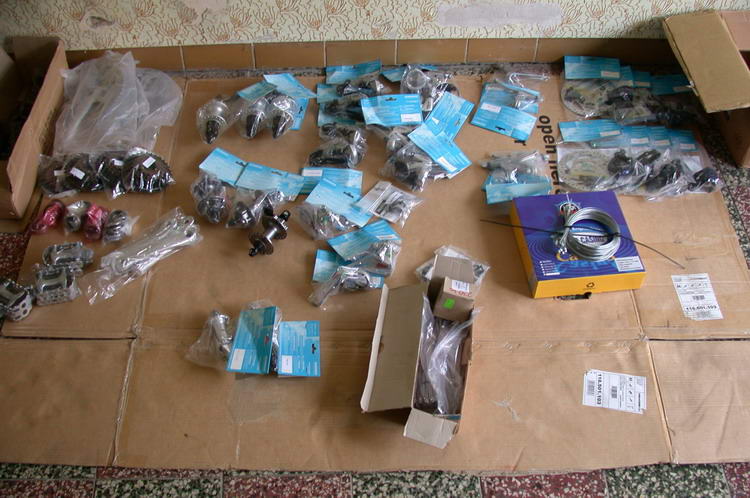
Overview of the components which we bought from Azub.
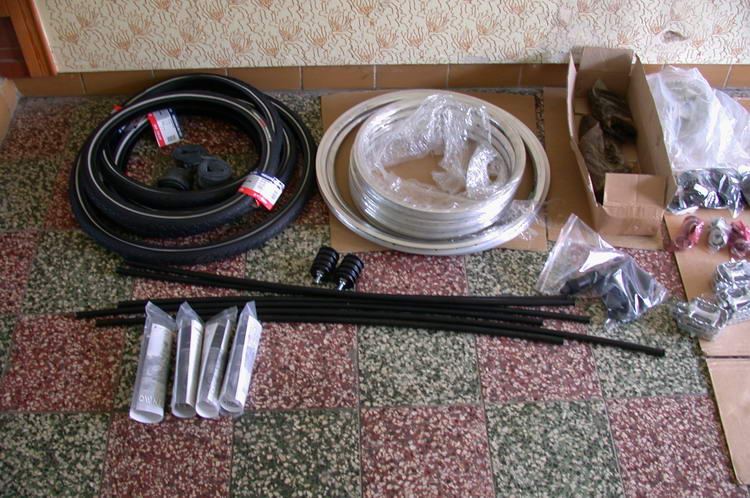
and more...
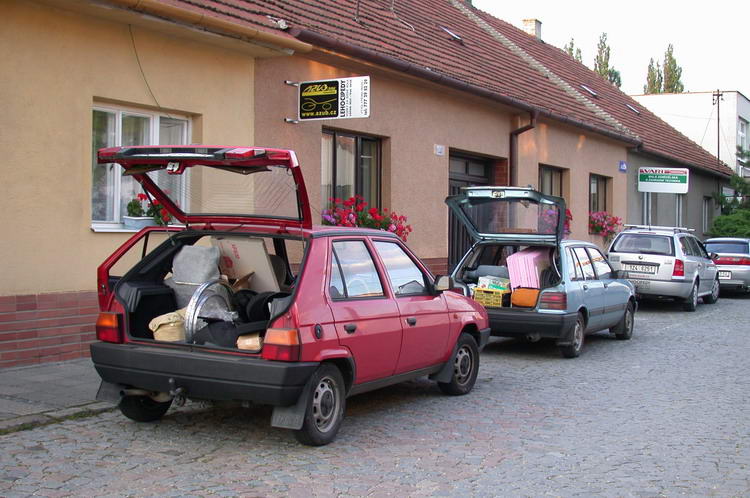
2 cars full of building material and components...
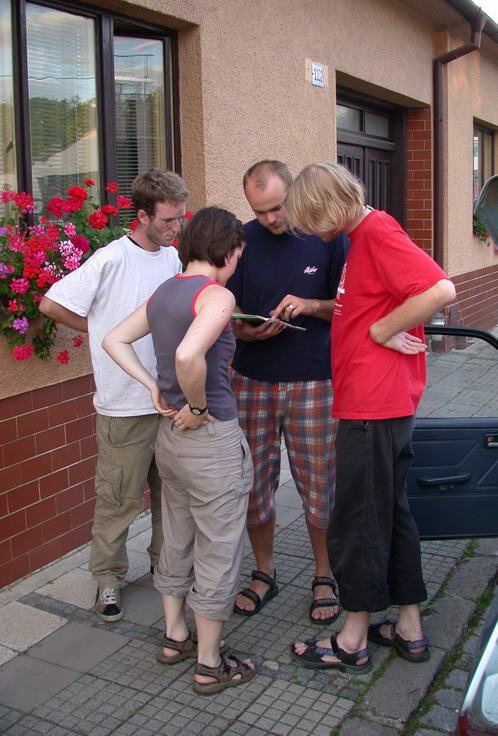
Aleš of Azub is explaining the best route to get to Senica.
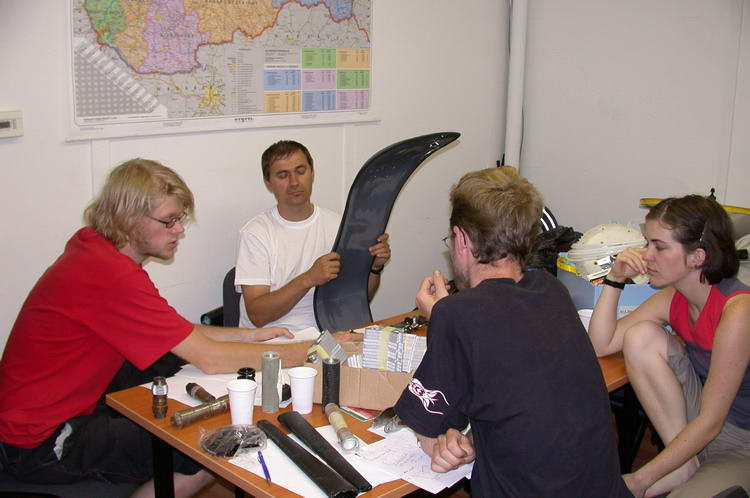
Consulting our plans and possibilities with expert Peki (2nd from left).

Honza and Eva are spoking wheels. Paddy is using Autocad to modify his carbon recumbent design.
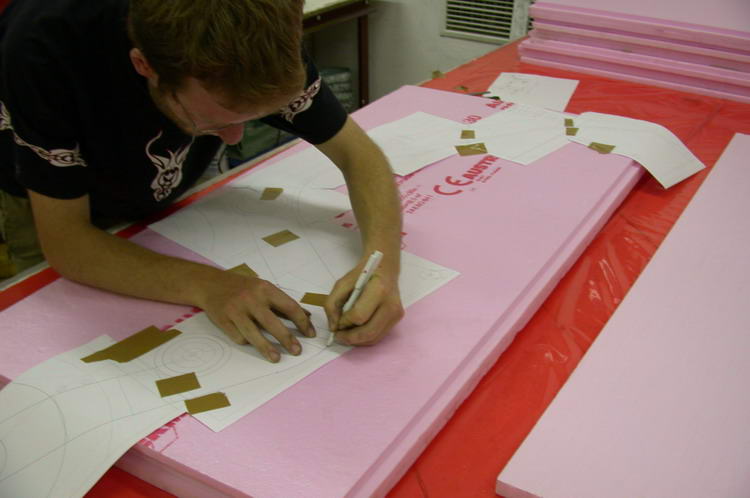
Paddy copies his CAD drawing to the foam sheet.
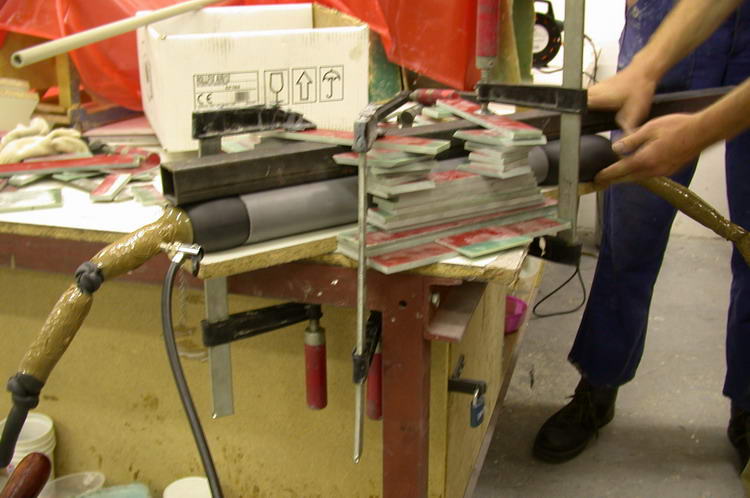
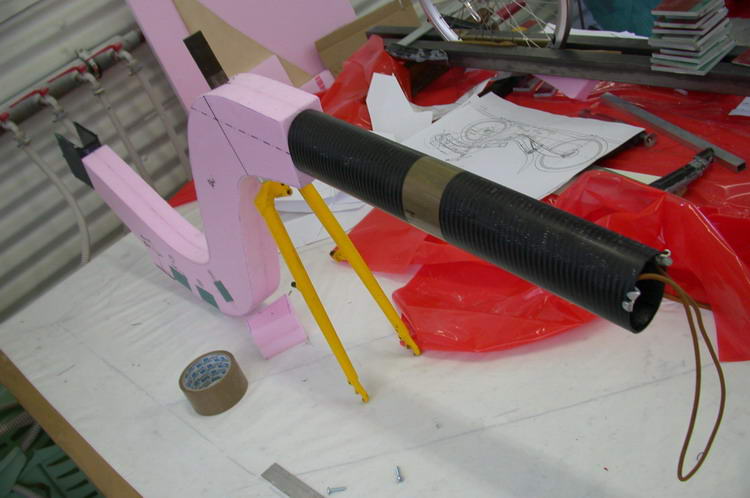
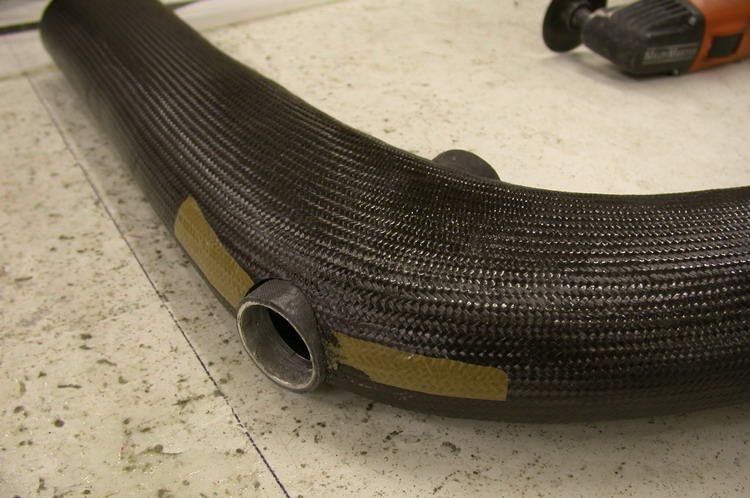
To get a sliding boom requires the outside of it being smooth and accurate. Therefore the boom had to be made using a negative form. It took a bit of practice and a lot of patience to laminate the carbon fabric into the mould but the resulting booms are shaped perfectly. To give the boom an oval form the mould, a pvc tube, was flattened with clamps. To keep the wet carbon fabric pressed against the wall we used a bicycle innertube to apply pressure.
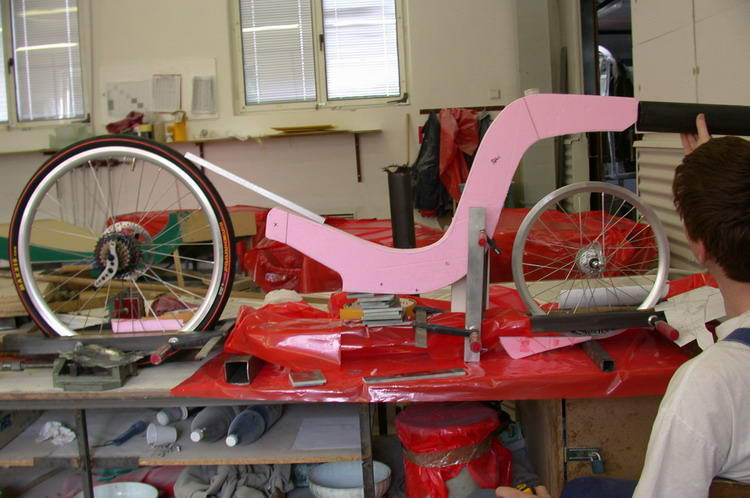
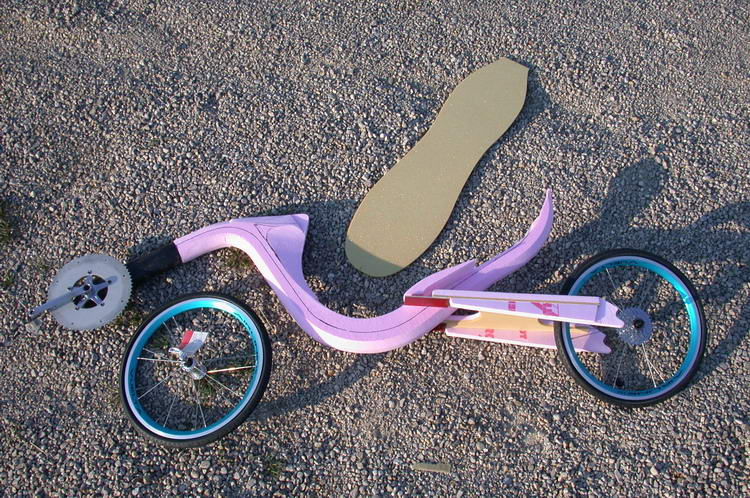
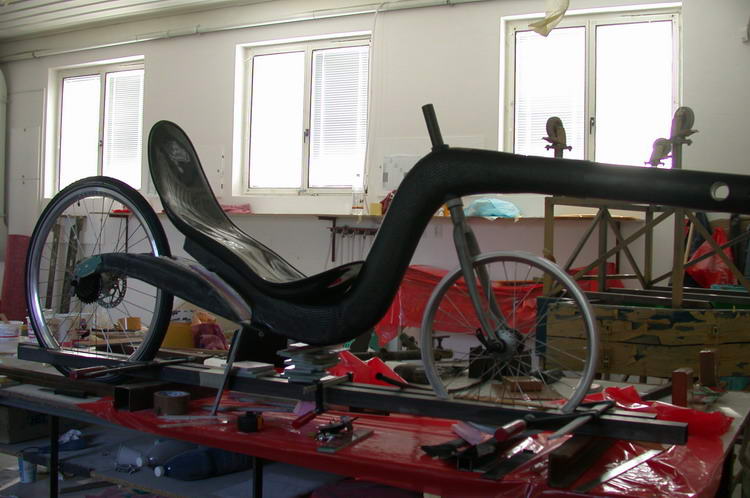
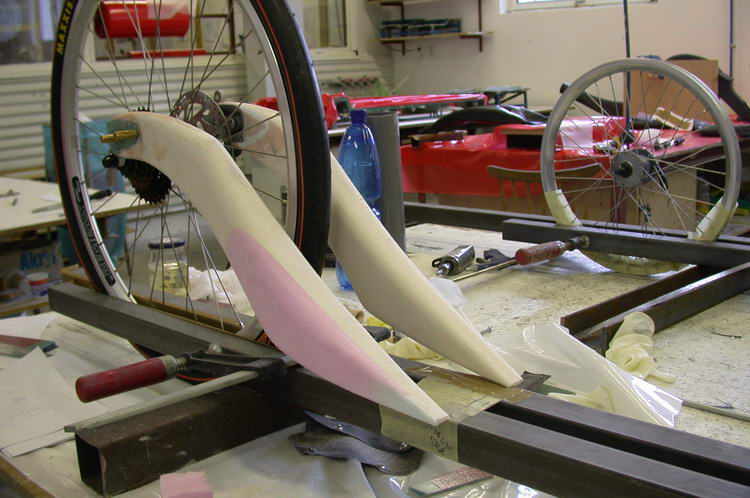
Impression of how Peki's bike will look like.
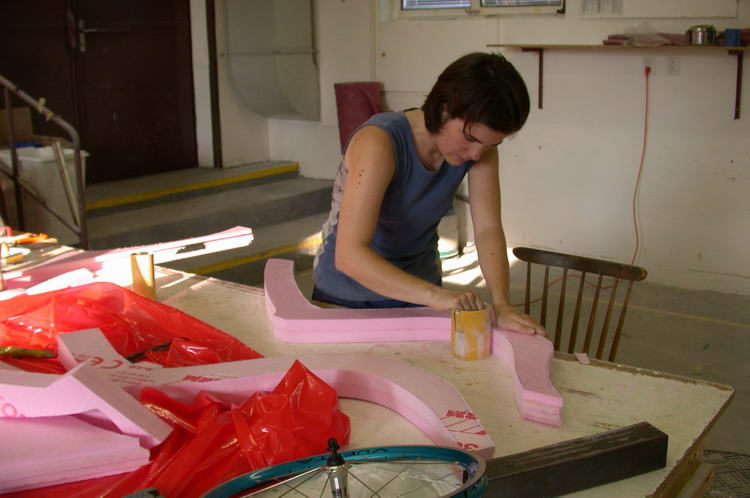
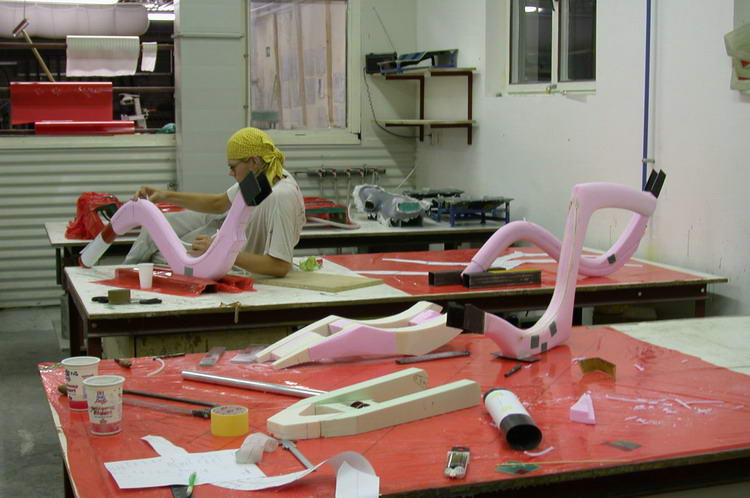
Evina is shaping the foam core of her frame.
Paddy's foam plug for his bike. Unfortunately it's never laminated.
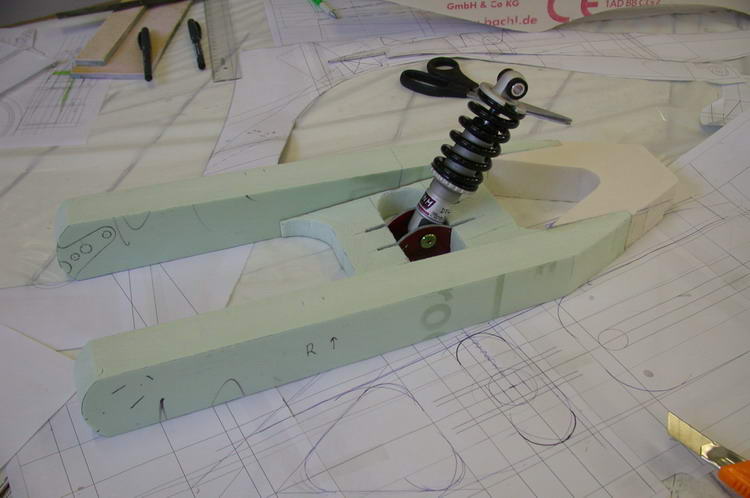
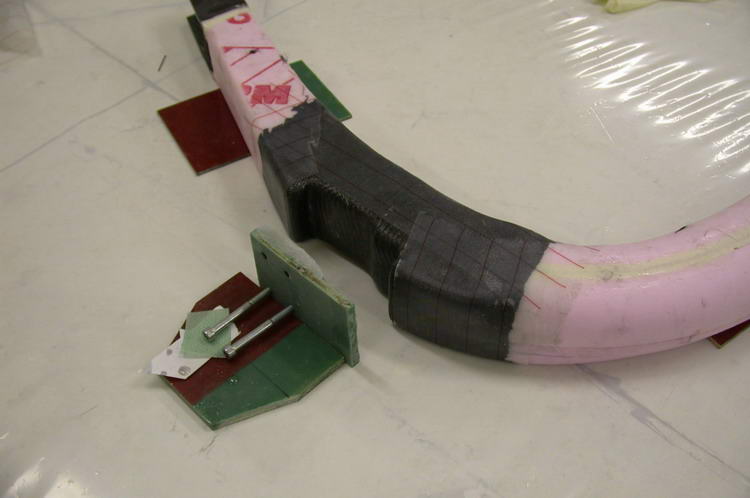
Peki's boom aligned and fixed to the foam core.
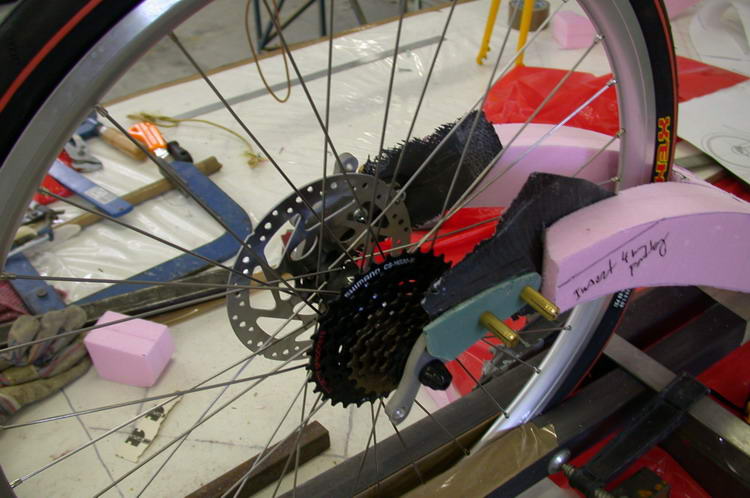
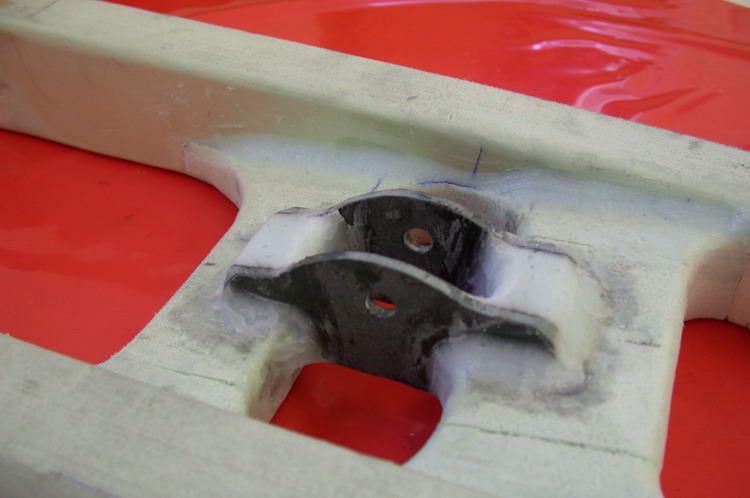
Making the foam core of the rearfork fit with the dropouts.
Mould for the headtube. The aluminium rings will be part of the final headtube.
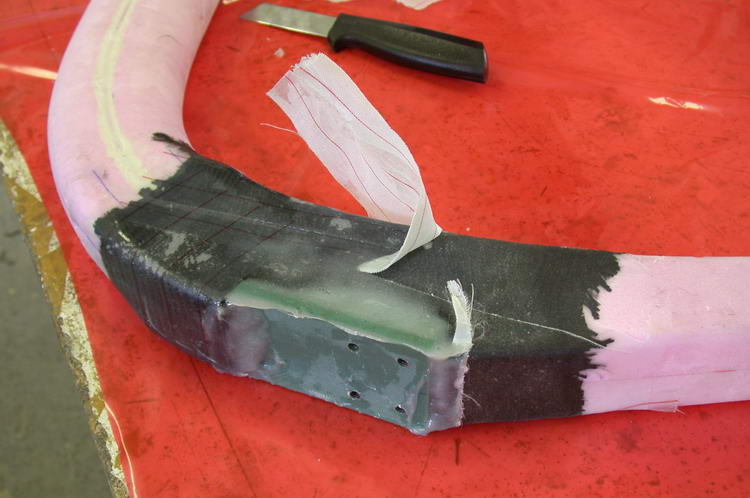
Peki's frame with glass inserts reinforcements for seat and pully mounts.

Modelling clay was used to make the connection between boom and frame smooth. It was hard to remove the clay after laminating.
Peki's rearfork with nylon tube for gear cable.
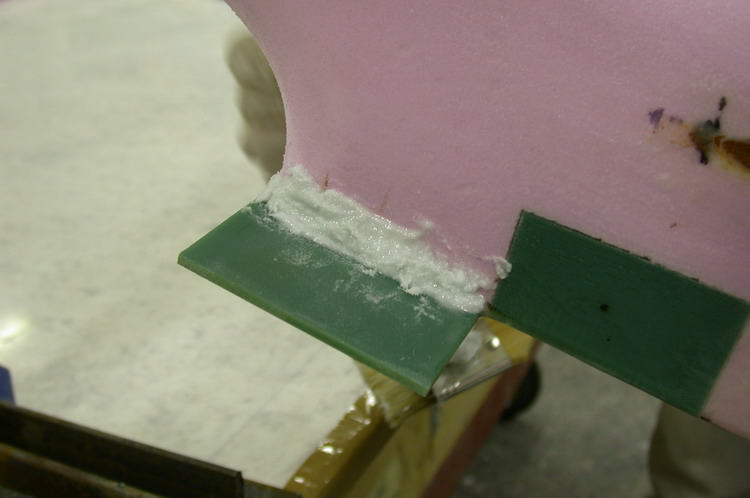
The space between dropouts and the foam core were filled with quick drying epoxy. After one hour shaping with sandpaper was possible.
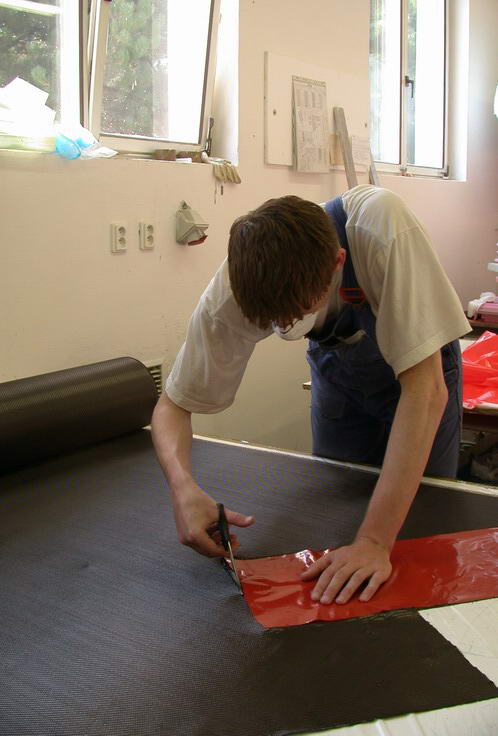
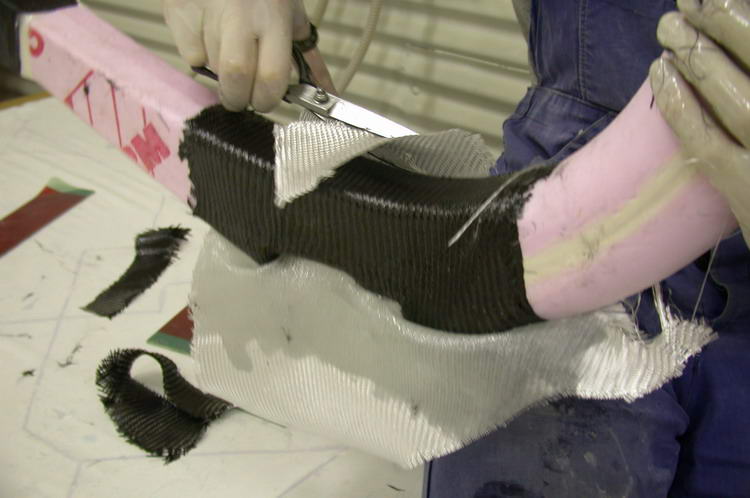
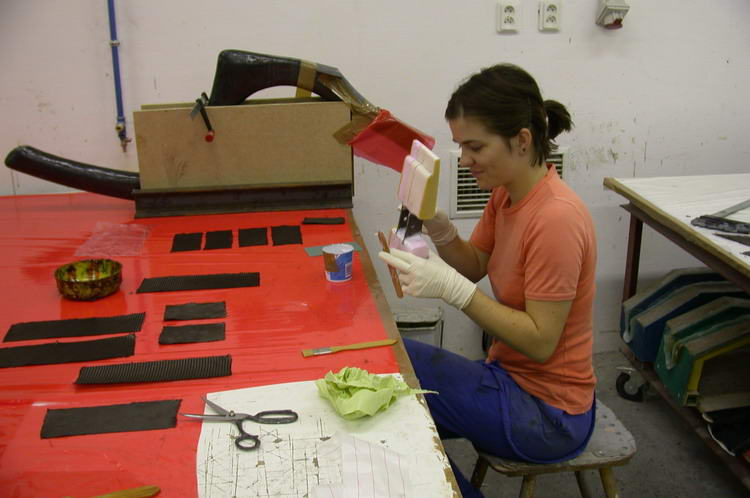
Cutting pieces of carbon fabric.
Glueing a glass fiber sheet to the foam core. The rearfork is later bolted onto this sheet.
Laminating U-shapes to be used as suspension mount.
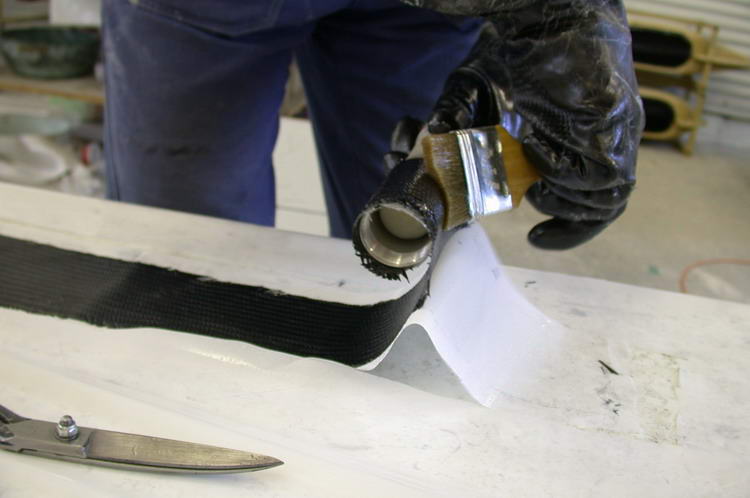
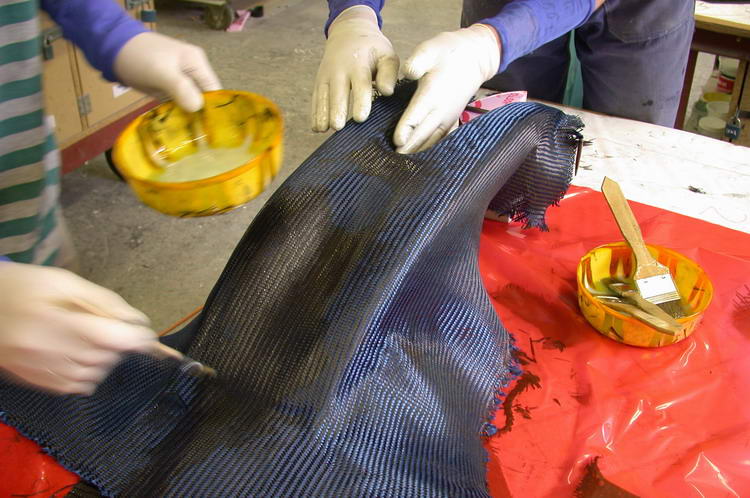
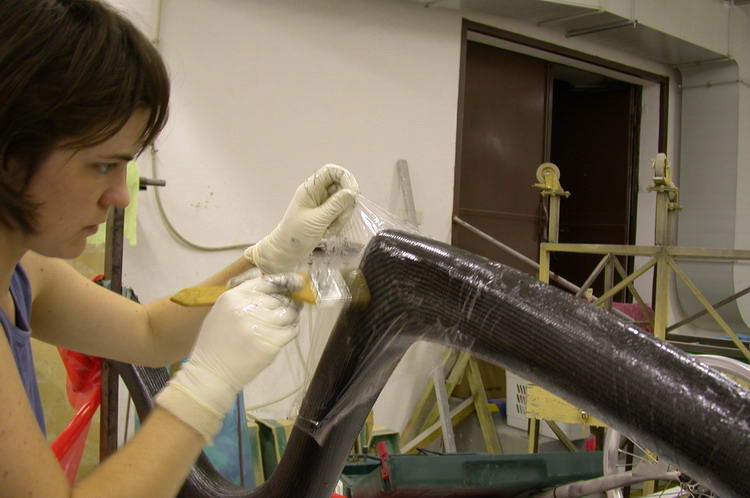
The plastic foil avoids damaging the fabric during applying.

A glass sheet reinforcement was added on both sides with black coloured epoxy.
Peelply was applied to avoid the need for sanding before laminating the U-shape to the frame.

Finally the U-shape was clamped to get a nice flat surface.
Cutting a slot into the frame to make clamping of the boom possible.
Peki's rearfork arms were glued with the bridge foam core after laminating them.
The headtube nicely fits into the holes in the frame.
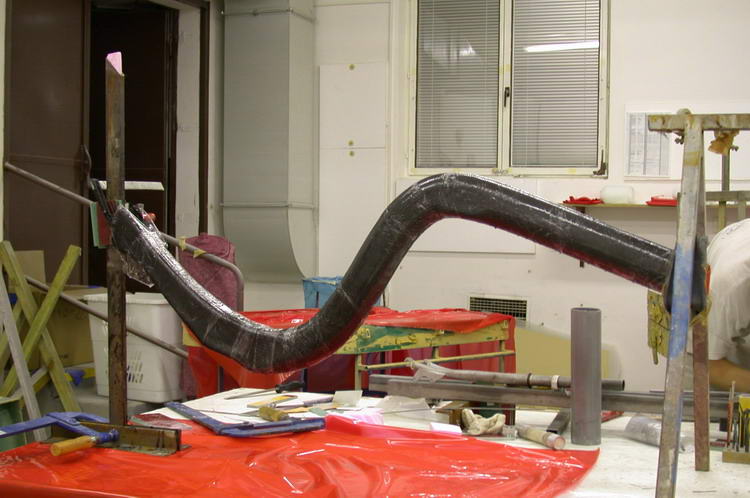
Peki's bike in the alignment setup.
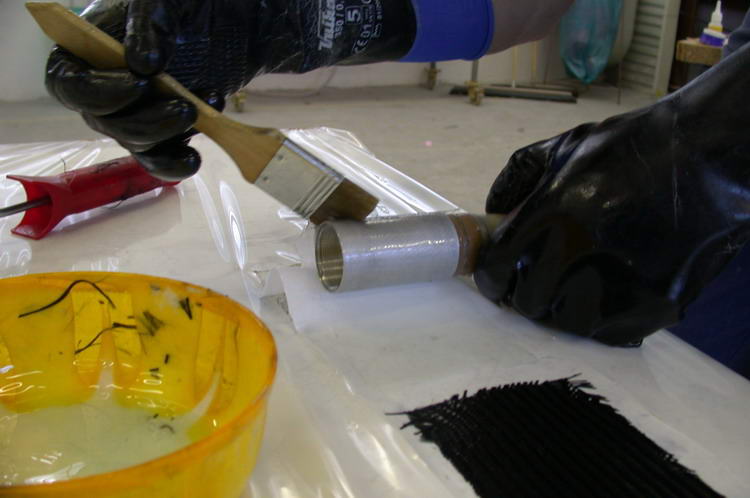
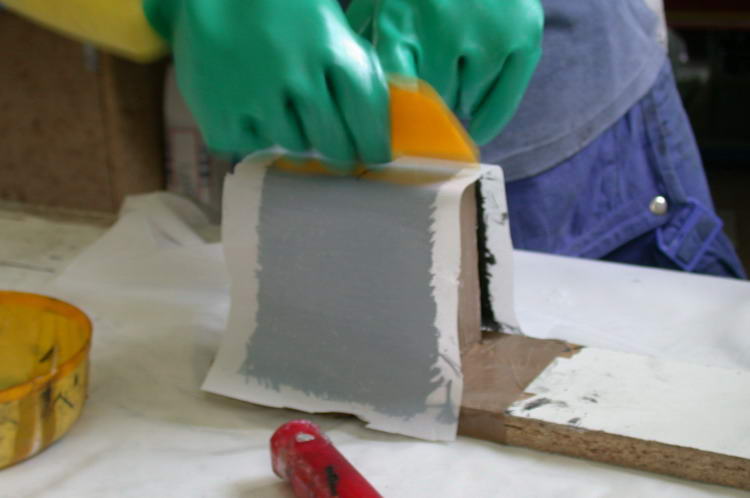
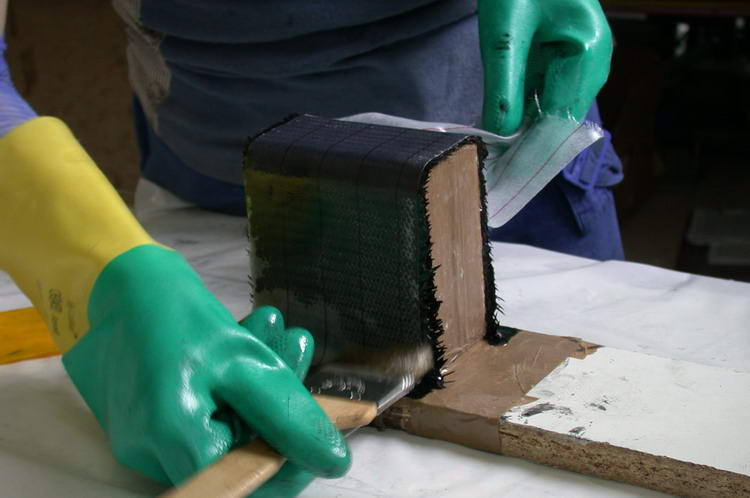
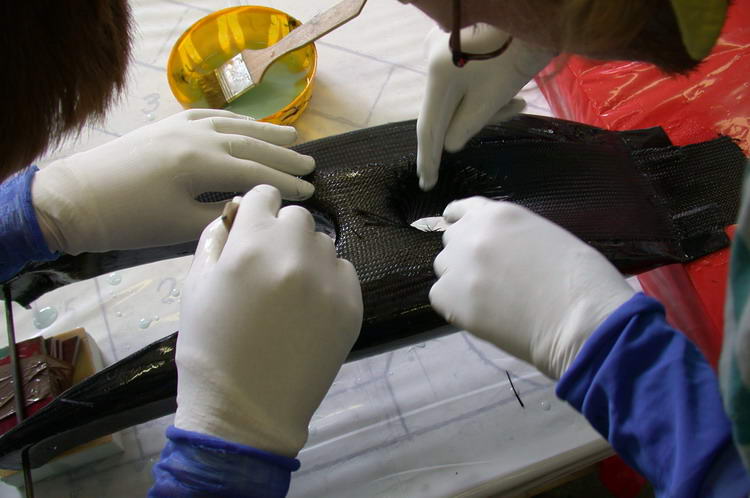
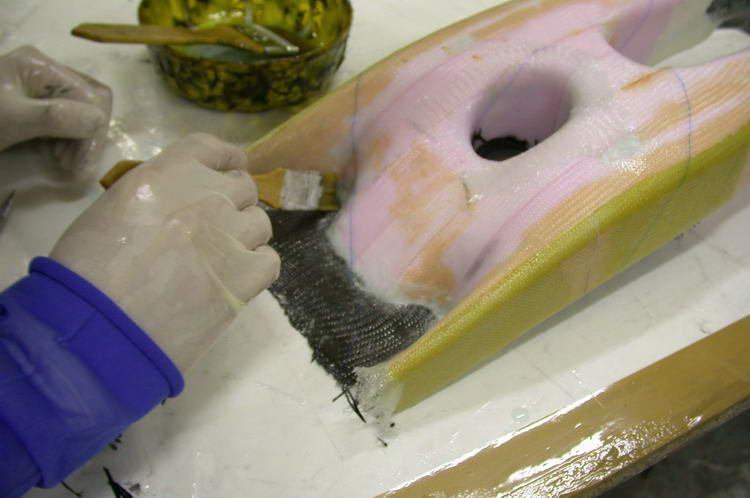
The aluminium bracket is first covered by a layer of glass fabric before covering with carbon fabric. The glass fabric electrically isolates the aluminium from the carbon fibers. This is necessary to avoid corrosion of the aluminium.
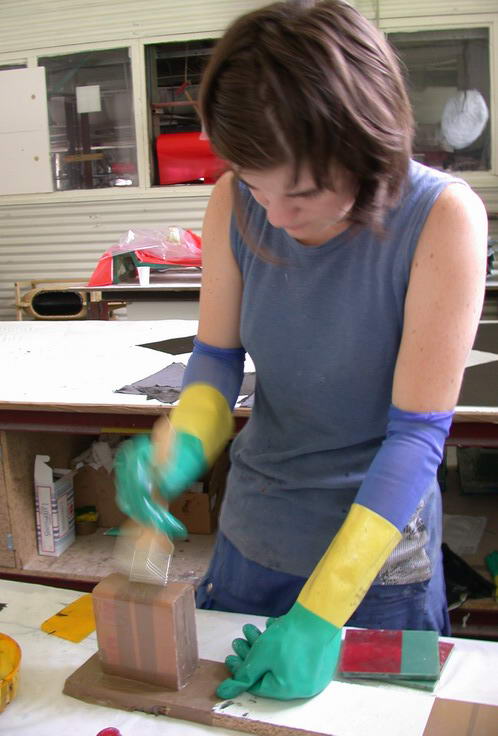
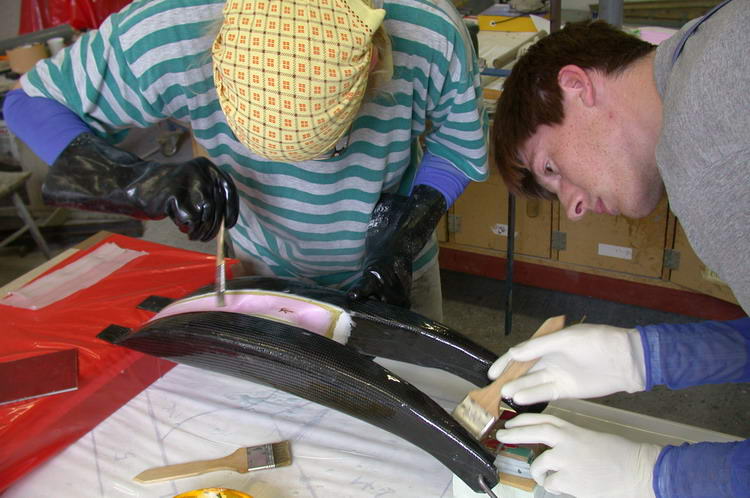
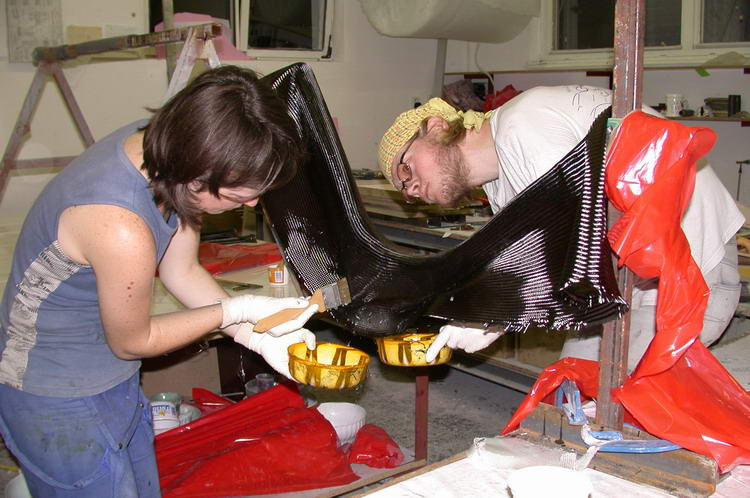
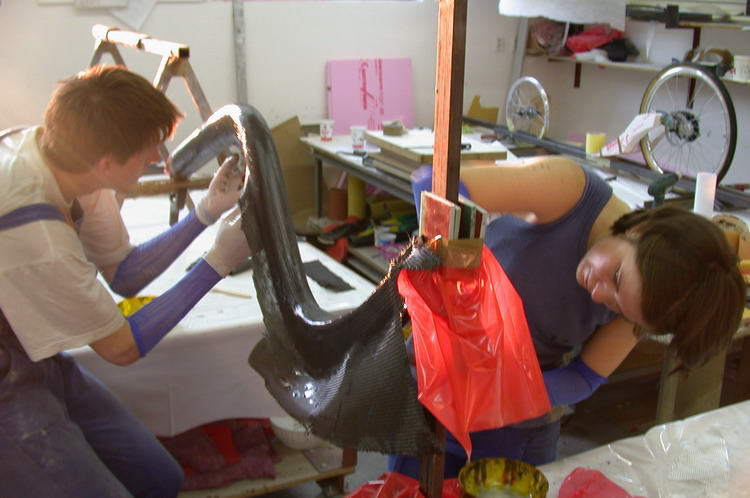
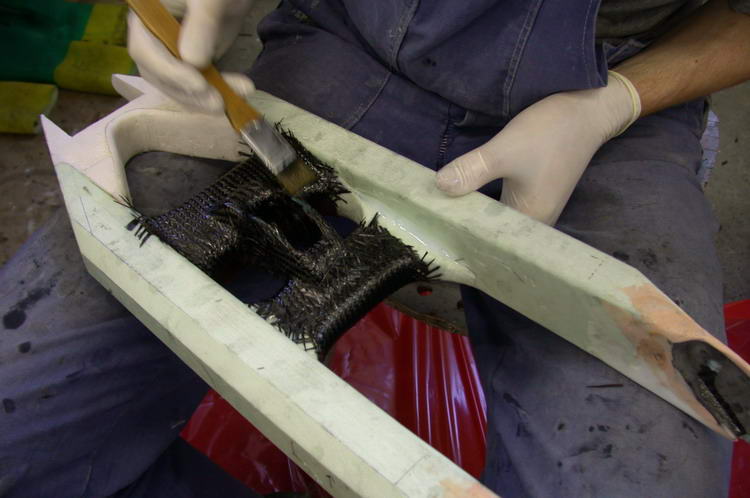
By brush the epoxy wettened fabric was pressed around the bracket.
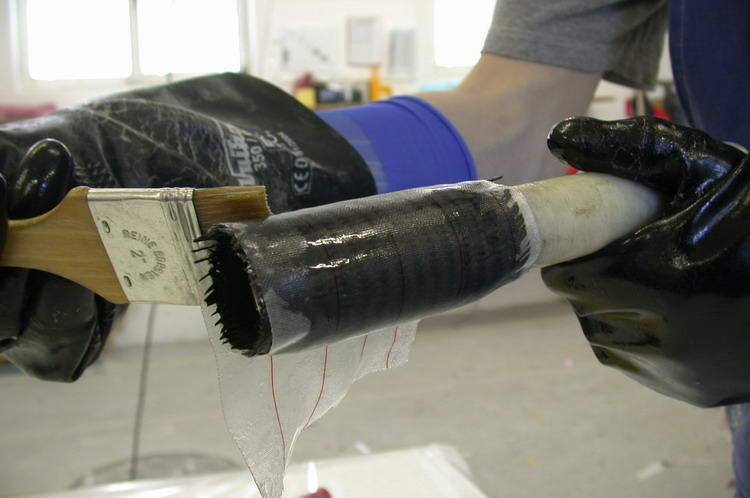
A final layer of peelply was applied to make sure that the bracket would have a nice clean and rough surface to glue it into the front boom.
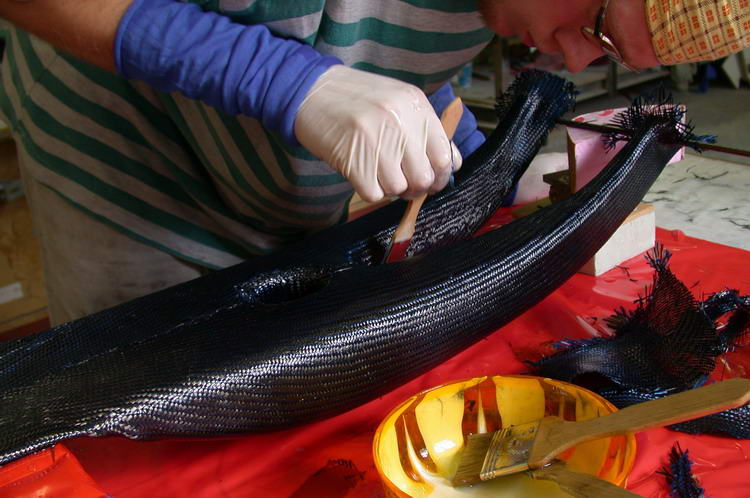
Laminating the final layers to Peki's rearfork.
Difficult laminating details for unexperienced hands.
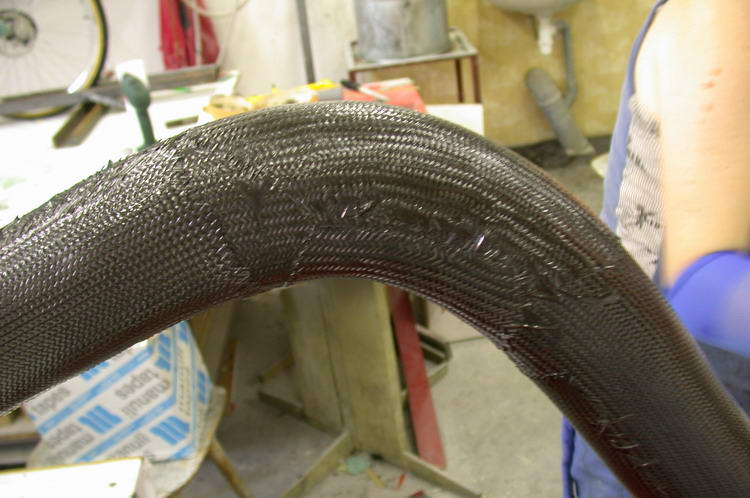
The final layer of carbon-kevlar fabric.
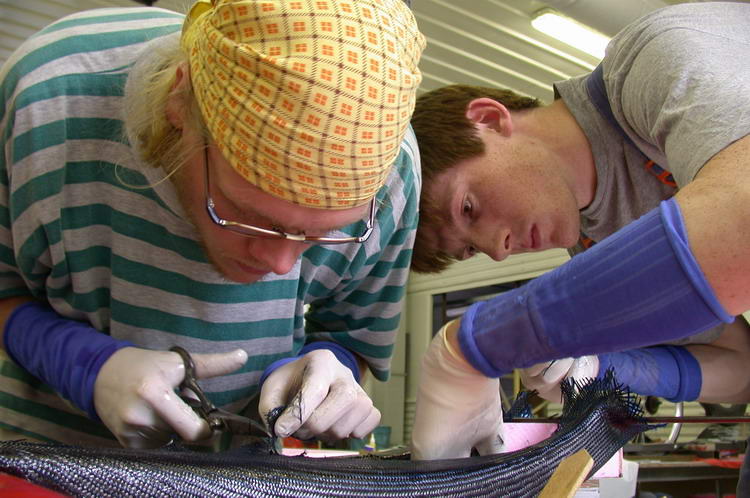
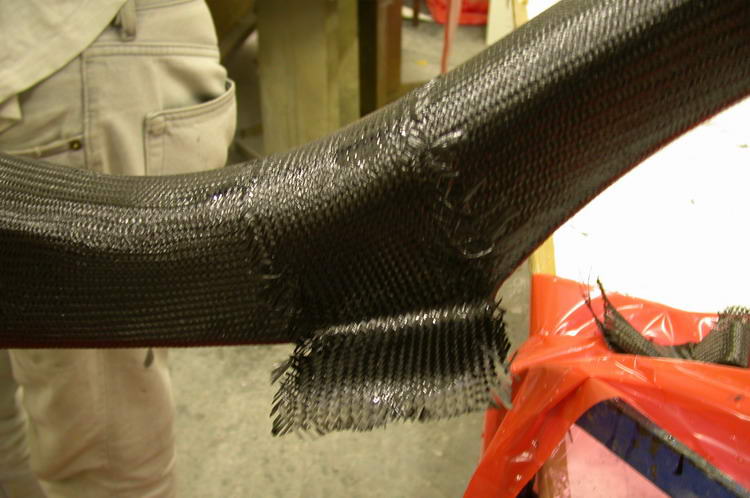
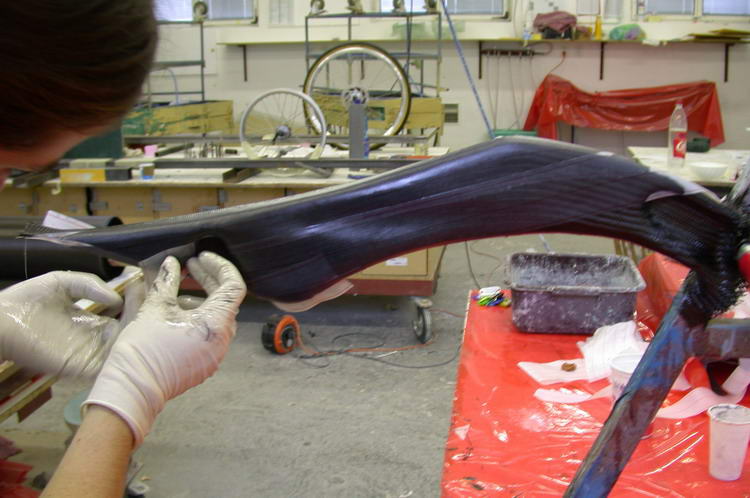
Cutting and applying the carbon-kevlar fabric to Peki's rearfork.
Finishing the last bits.
My foam plug of the rearfork somewhere in the middle of its shaping process.

Sanding down the front of the frame to make the boom fitting onto it.
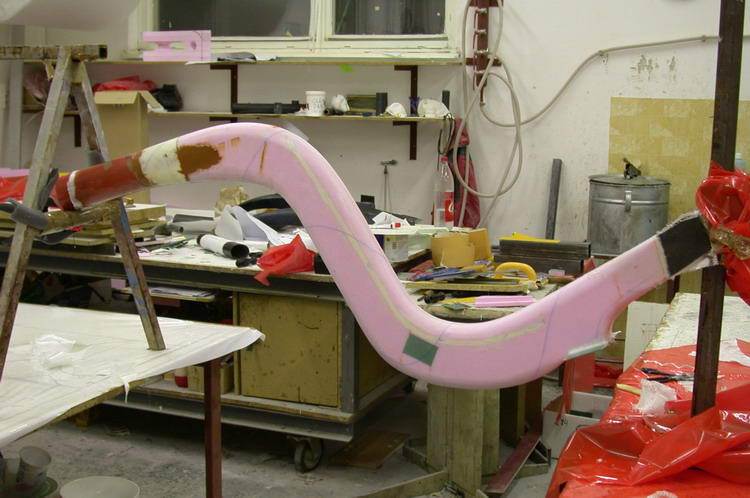
Work in progress: Front booms, rear forks and frames.
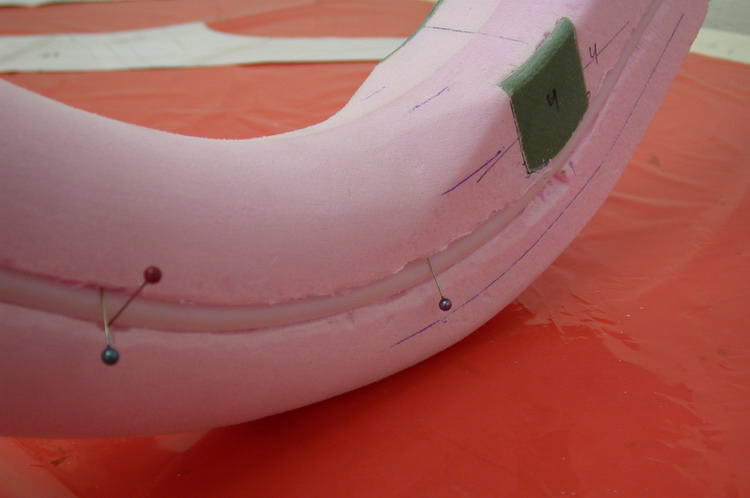
Pins were used to keep the tube inside until it was covered by fast drying epoxy.
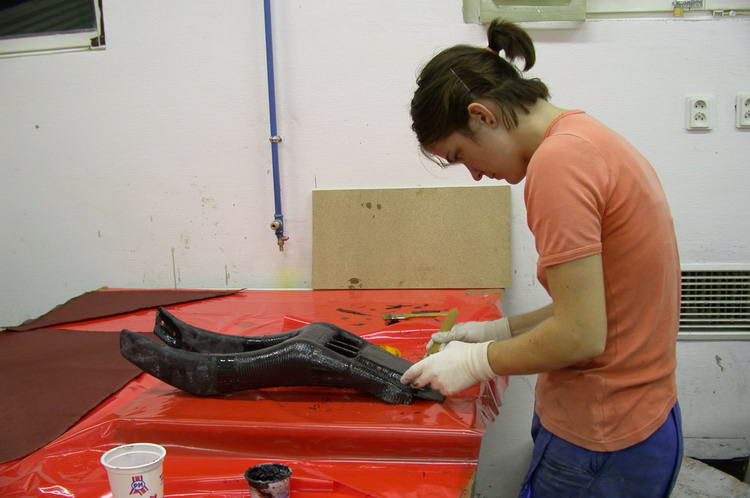
Laminating Evina's frame.
Some extra reinforment for the rearfork mount.
Evina is covering her just laminated frame by kitchen foil. It was quite hard to get it nicely around the frame. So the result was a bit disappointing, although the surface quality was much better than when leaving it uncovered.
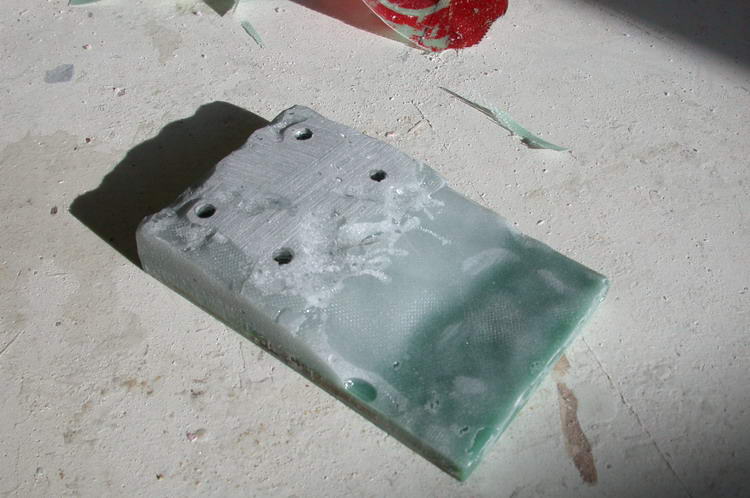
Reinforcement with threaded holes for the attachment of the rearfork of my bike.
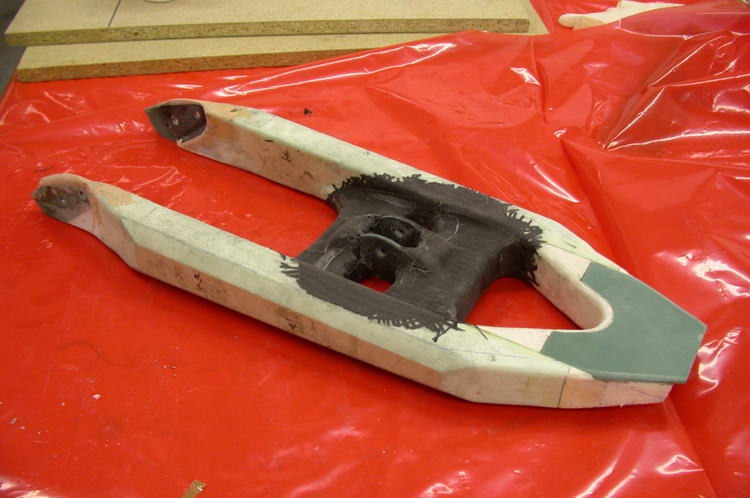
Reinforcing the frame where the rearfork will be mounted.
The reinforcement with threaded holes next to the place where it was glued. Finally it was completely inlaminated.
Honza's frame, ready to be laminated.
Rearfork mount glued to the frame of my bike.

Overview of my frame before the final layers where laminated.

First a layer of glass fabric.
The next three layers were of carbon fabric.
Some reinforcements in the headtube area.

Wrapped in plastic foil.
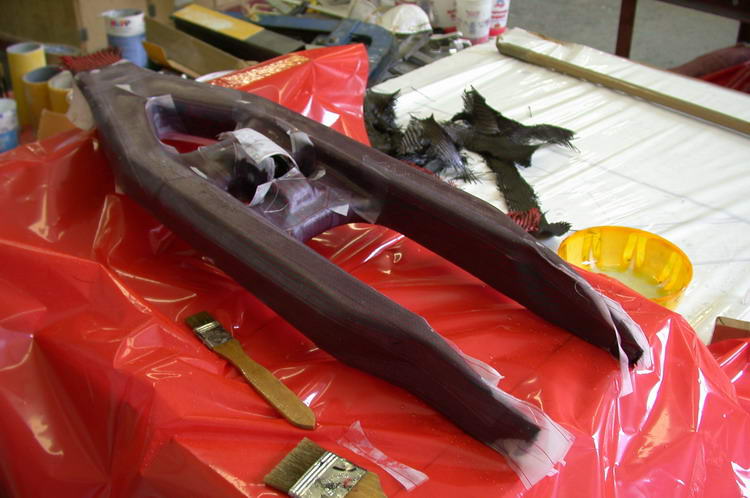
My recumbent frame just after laminating.
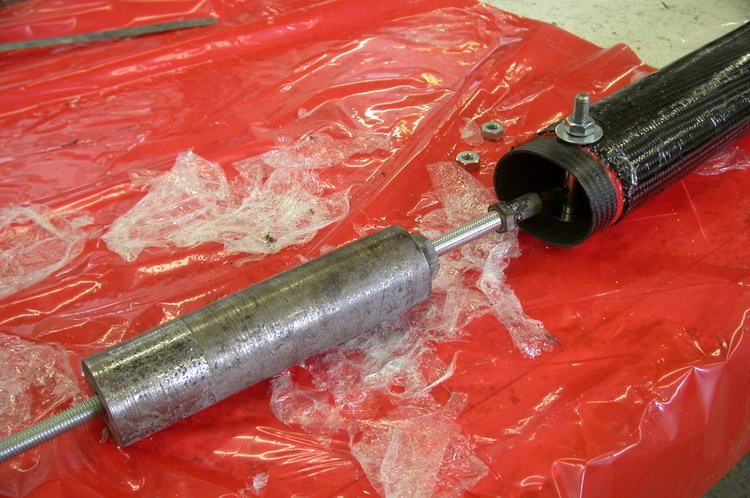
To get the boom out of the frame we used this tool.
Honza laminates his rearfork.

Honza applying epoxy to his rearfork.
Evina's rearfork in the alignment setup.
Applying peelply to the just laminated rearfork arm of Evina's rearfork.
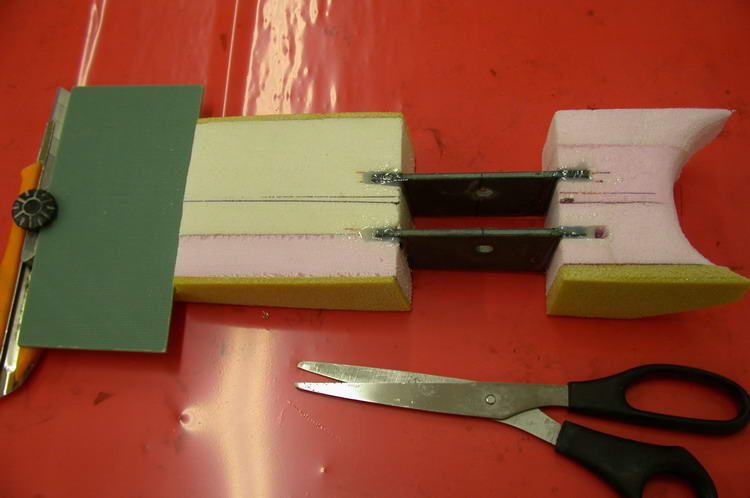
Evina's rearfork bridge. Foam core with composite inserts.
Lamination of the rearfork bridge.
Before laminating the suspension mounts were glues to the foam.
Because of the complexity of the fork the laminating was done in 2 times. First the part in the centre.
Evina is laminating her rearfork.
My rear fork just before applying fabric for the second time. Because the part in the centre was covered with peelply the bonding with the rest of the fork will be quite good.
The laminating of my rearfork is finished. It's covered by peelply.