
Plywood Recumbent Building workshop 2003
July 2003
In the summer of 2003 we built five wooden recumbents. We used 2 mm thin plywood and a 5 cm thick foam core. Thanks to Alligt Ligfietsen, we had a very suitable location in Den Bosch ( The Netherlands ) to build the bikes. Due to the fact that there were both Dutch and Czech participants, the workshop had an international atmosphere.
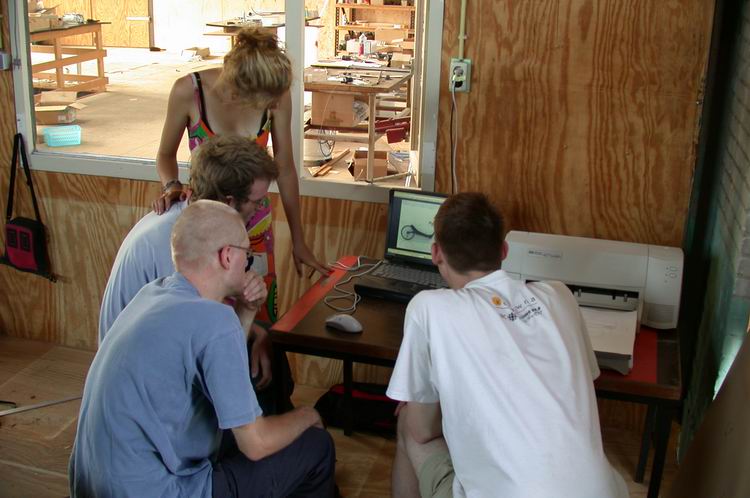
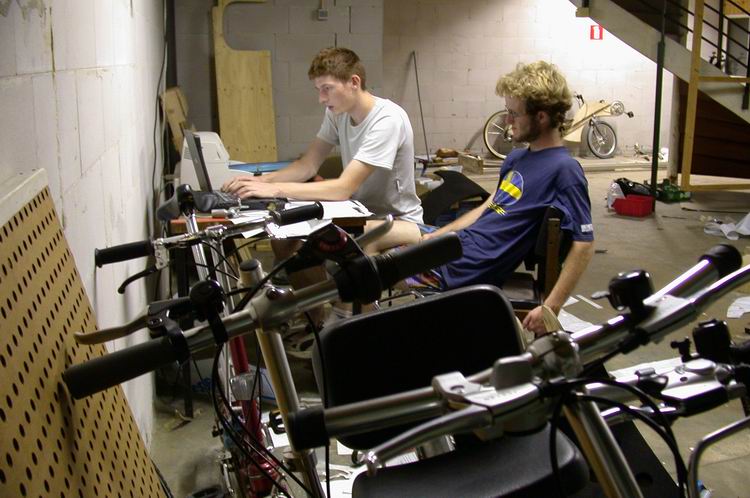
Browsing through Honza's big collection of recumbent pictures to get some inspiration.
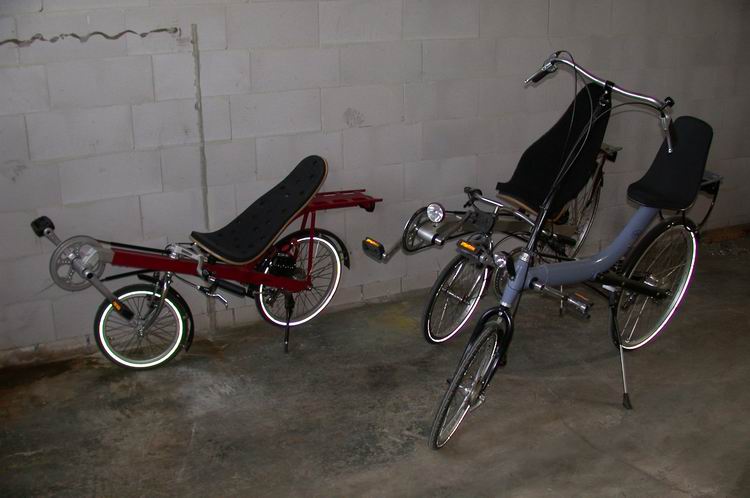
A few Alligt recumbents.
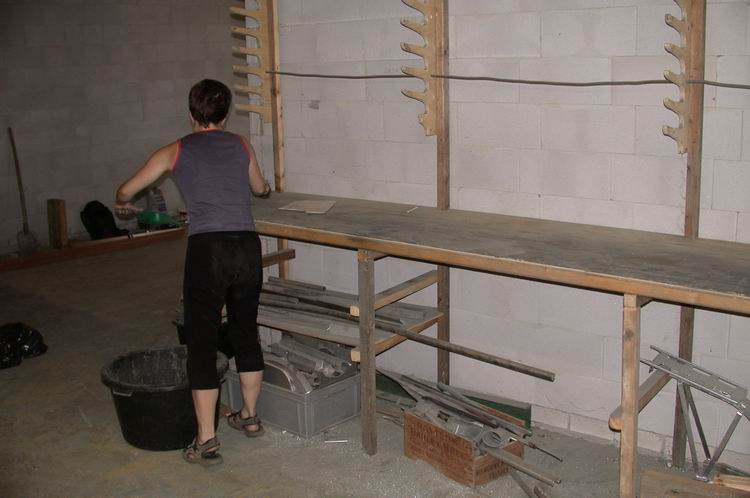
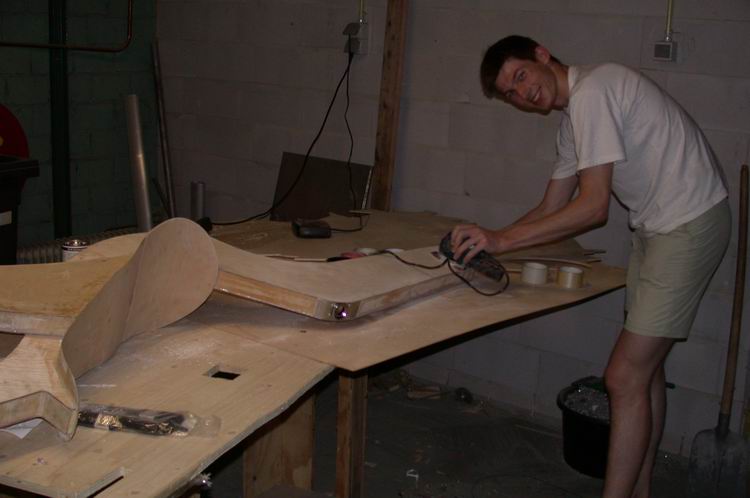
Cleaning up the workbench.
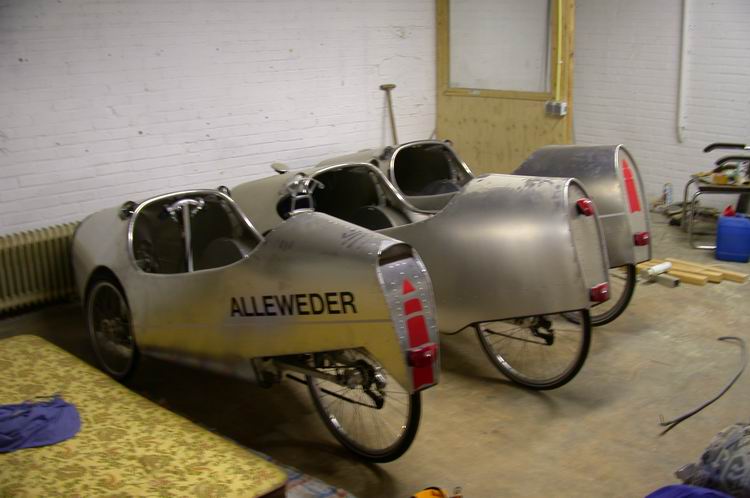
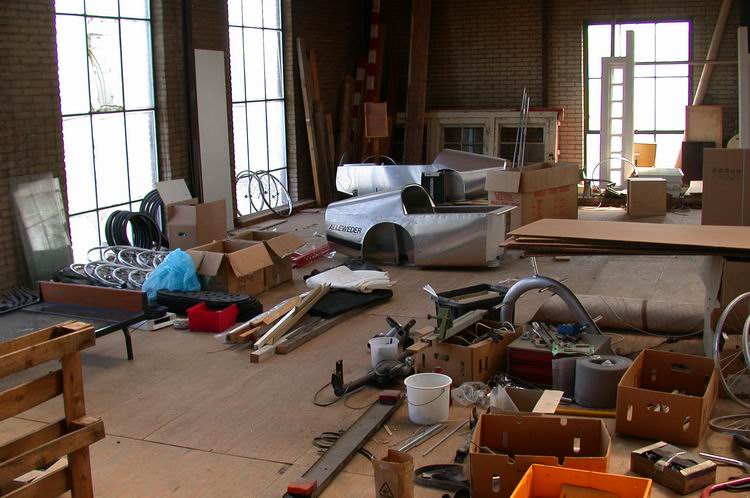
Three nearly finished Alligt Alleweders are waiting to be moved to Dronten(NL).

Those are the bicycle components which we bought from Alligt to use for our plywood recumbents.
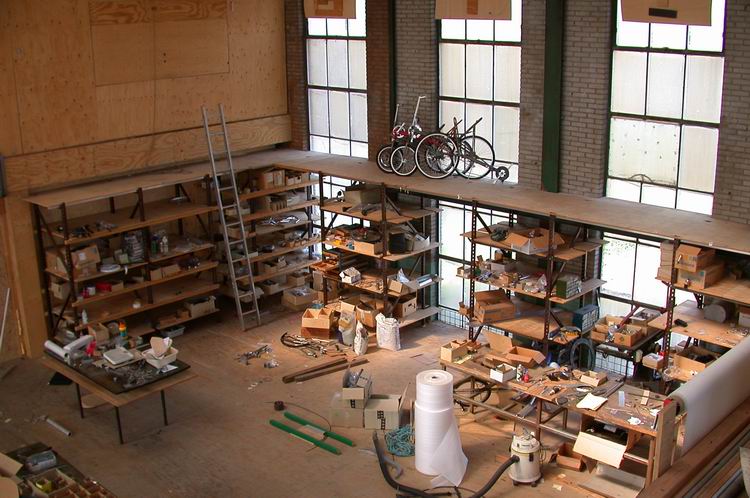
The workshop which we could use with permission of Alligt Recumbents was huge: it even had three levels. Plenty of space to build plywood recumbents.
The second floor of the workshop as seen from the attic.
Bicycle components and unfinished Alligt Alleweders in the attic.

We used this Alligt recumbent to determine the distance between the seat and bottom bracket.
Testing seat geometry.
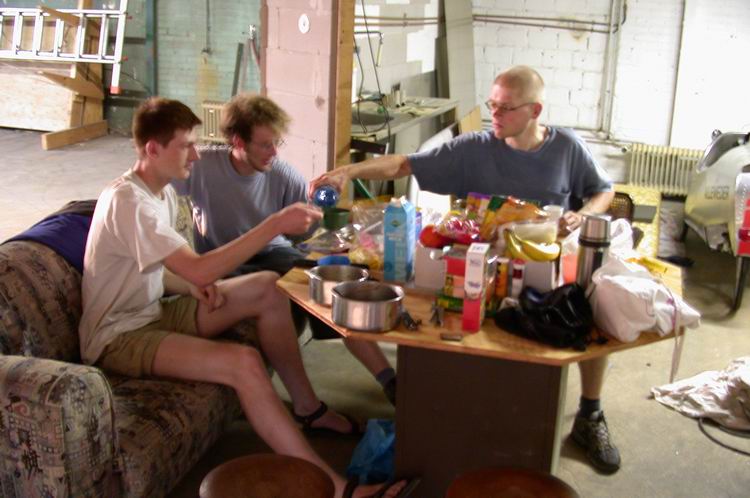
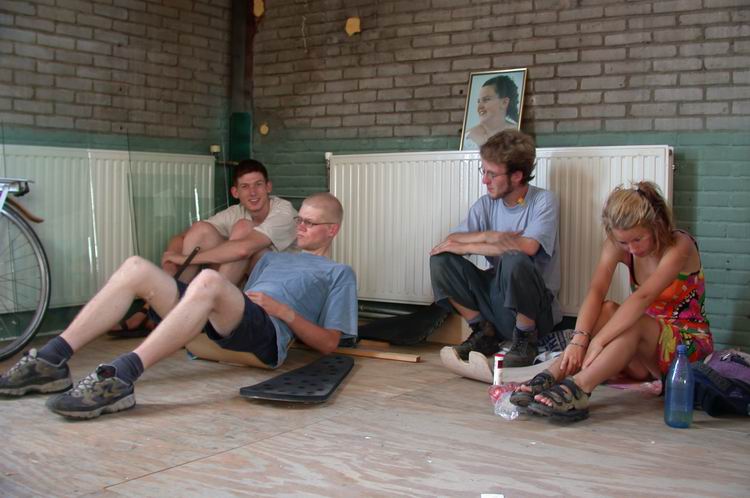
Lunch time!

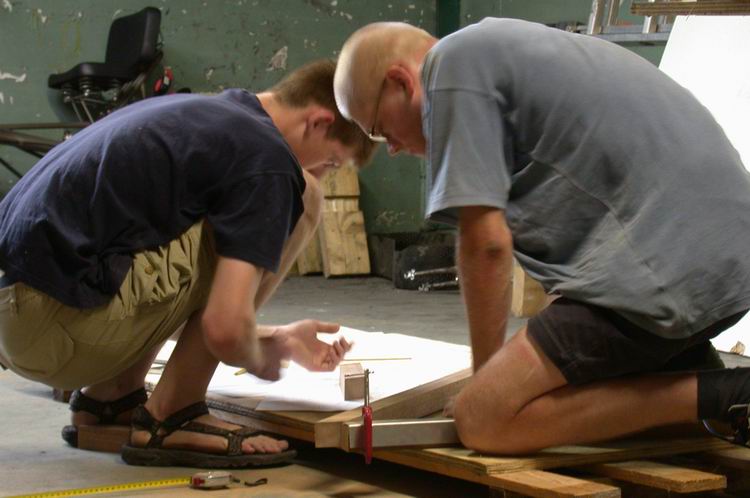
Sticking the 1:1 scaled technical drawings together.
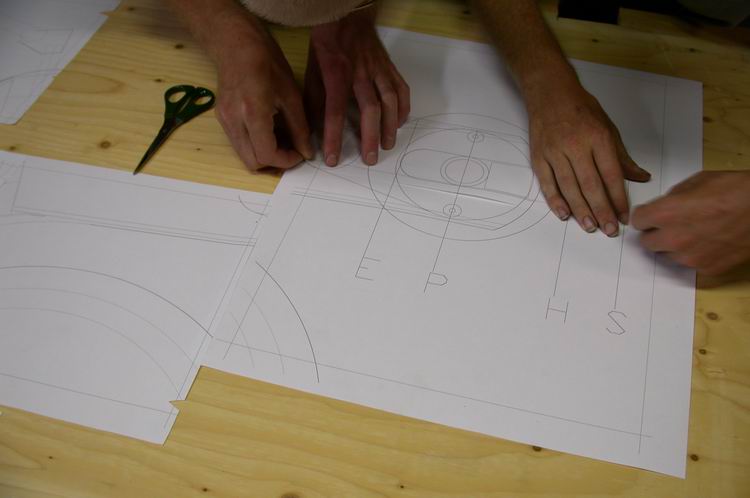
Each part of the technical drawing had a rectangular frame which we could use to fit the drawings correctly together. We had also drawn a long line which crossed most of the papers. To check the accurancy, we checked this line for its straightness and length.
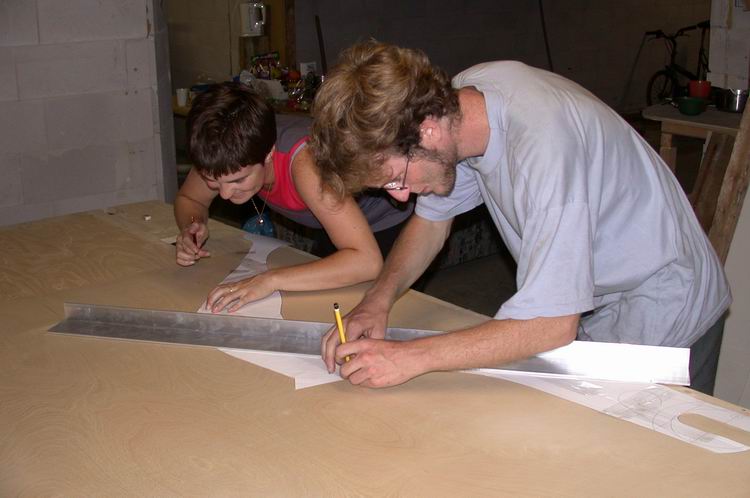
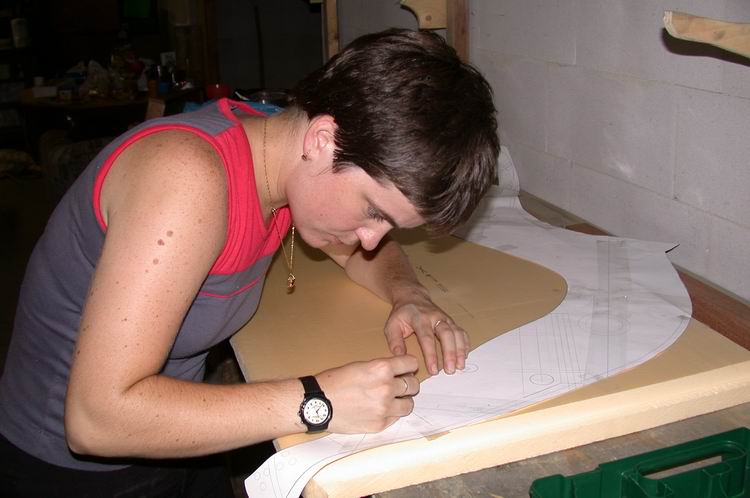
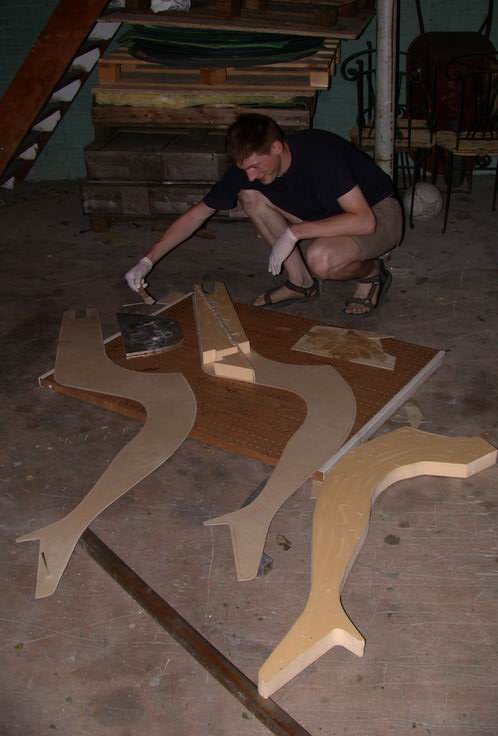
After cutting out the frame shape from the technical drawing, we sticked it to the plywood and copied the outline.
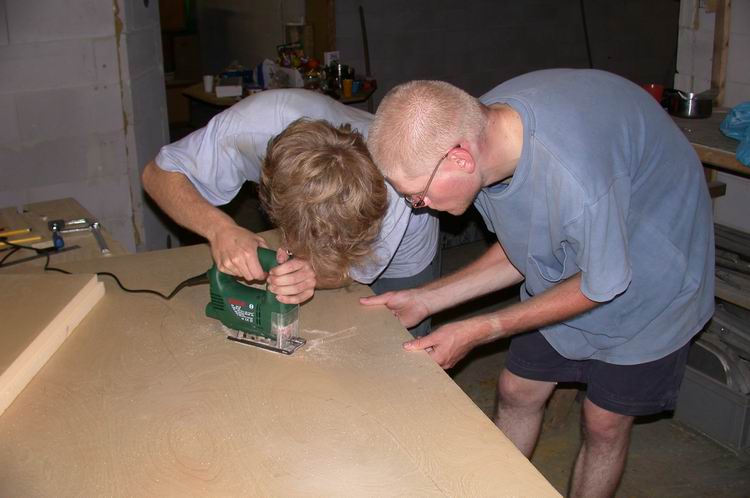
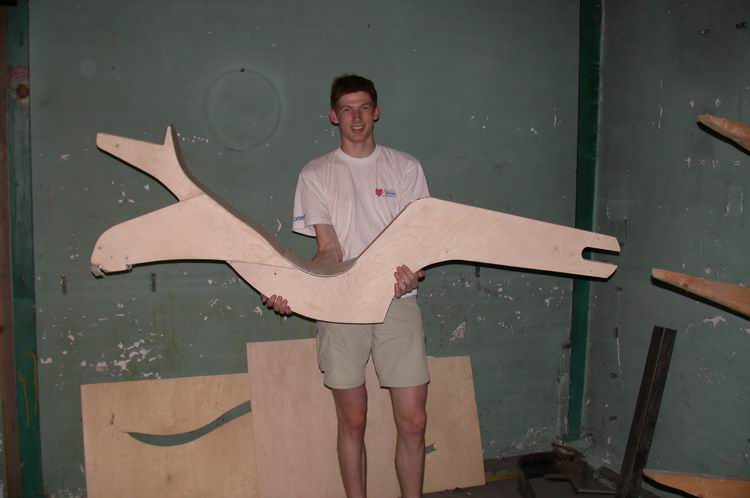
Sawing out the main frame from 2 mm thick plywood sheet.
Copying the shape to the polystyrene foam by pinning holes.

Preparing epoxy.
Glueing the foam onto the plywood.
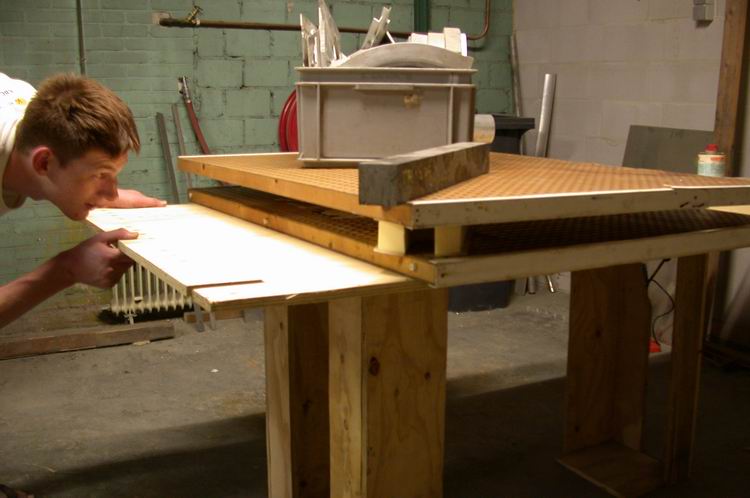
A heavy steel beam and a box with aluminium applied the pressure to the just glued plywood-foam-plywood sandwich.
Paddy is explaining his recumbent design to Leo Visscher, the owner of Alligt Recumbents.
Leo Visscher preparing an Alligt Alleweder for transport to his new workshop in Dronten.
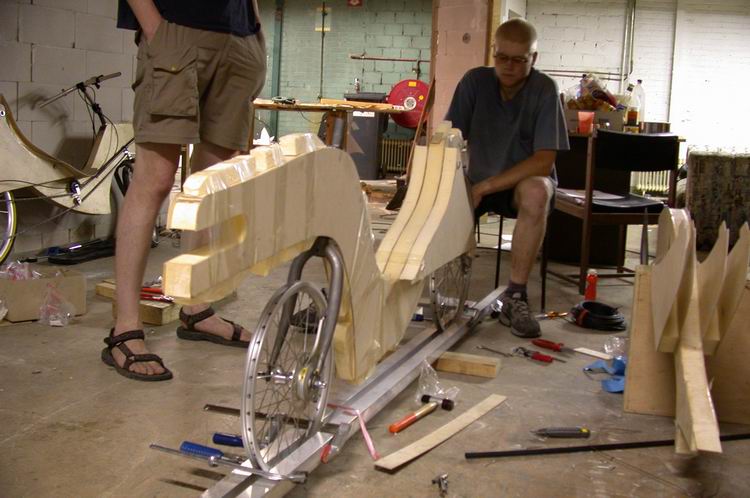
Sawing hardwood blocks for Paddy's leafspring recumbent.
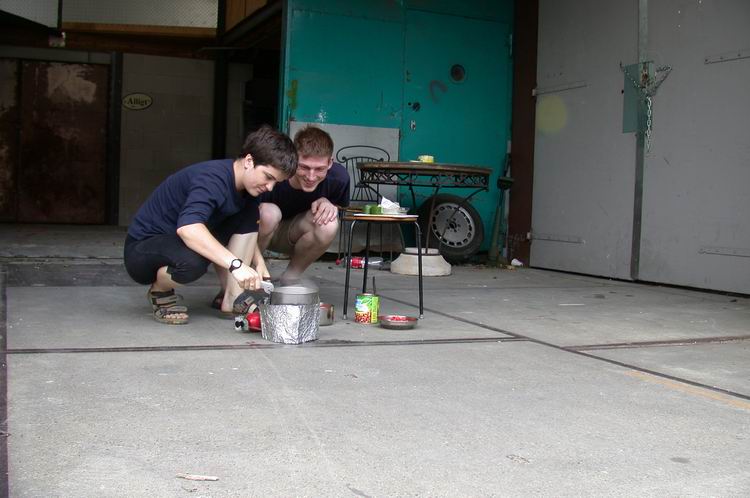
This is how we prepared dinner each evening.

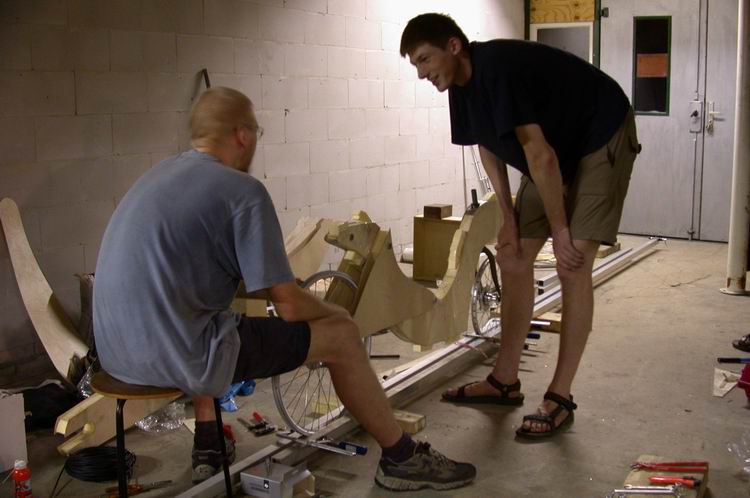
Consulting the best method of continuing the building.

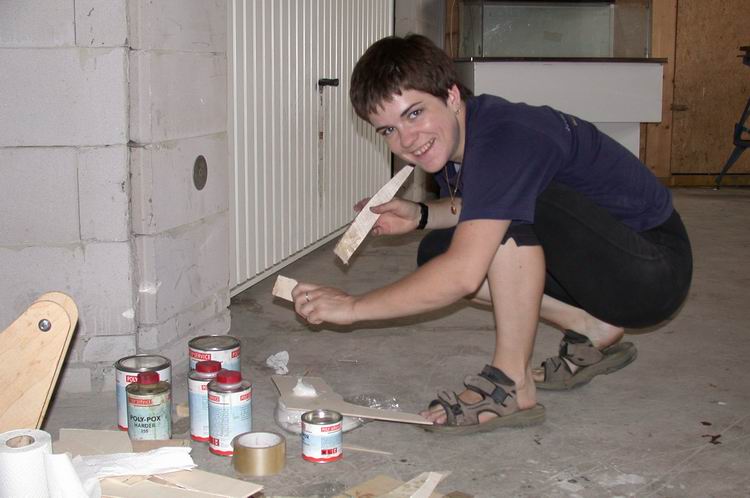
Applying the rim strip.

Glueing the head tube into the main frame.
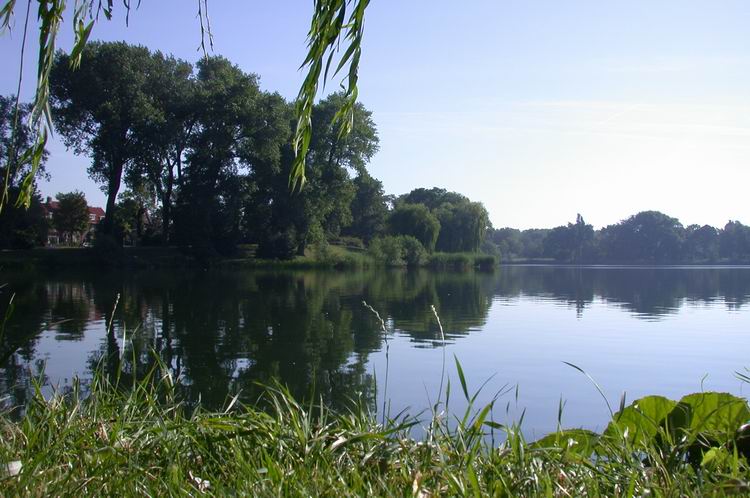
A lake in Den Bosch.
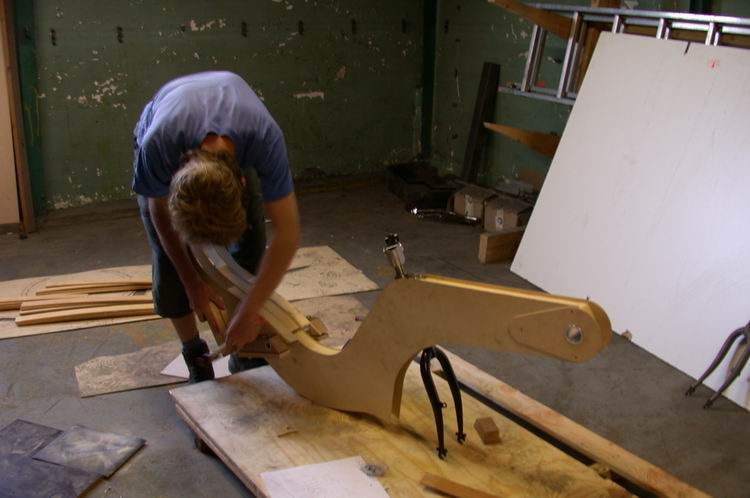
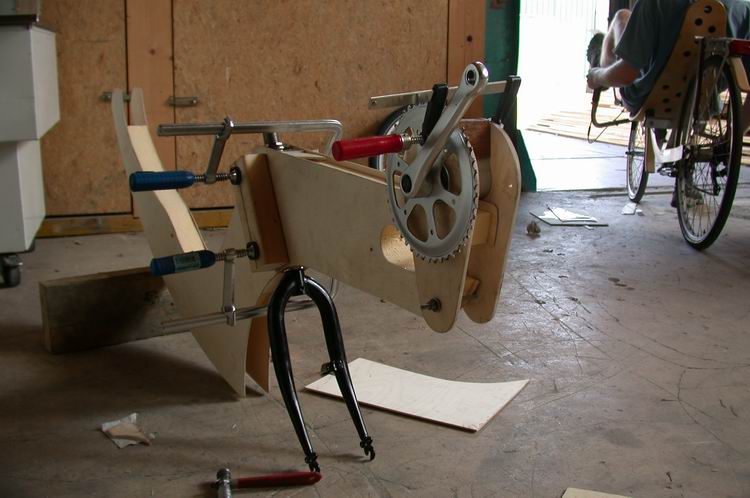
Paddy is mounting the leafsprings onto the frame.
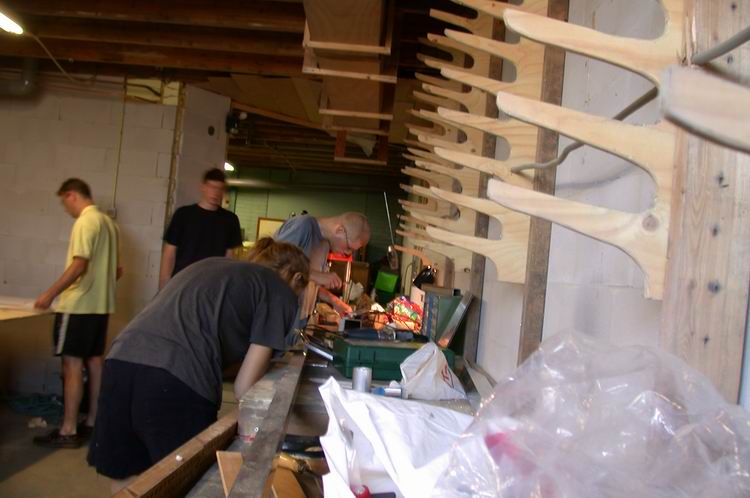
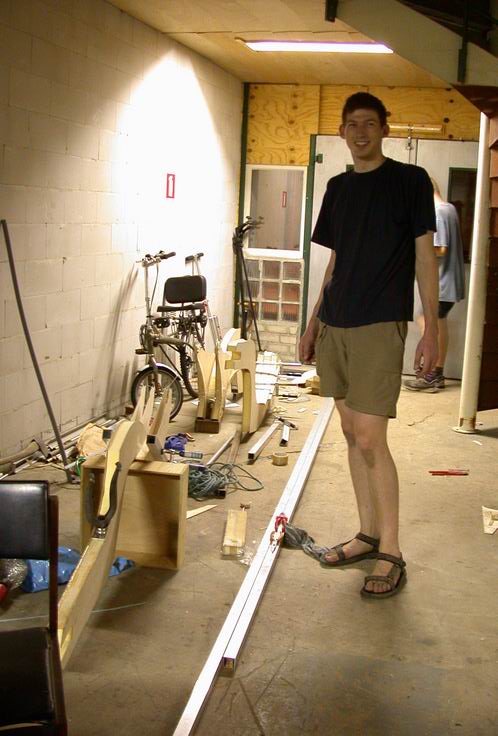
Everyone is busy building some part of his or her bike.
Glueing the leafsprings to the frame.
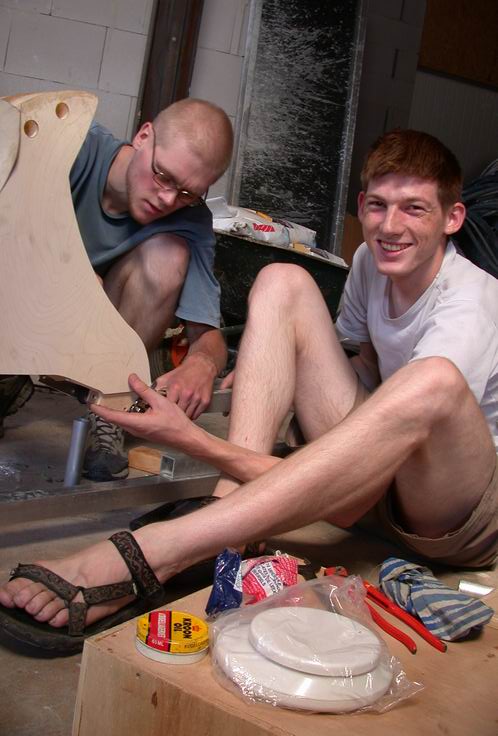
Jorgen is helping Paddy to glue his adjustable bottom bracket together.

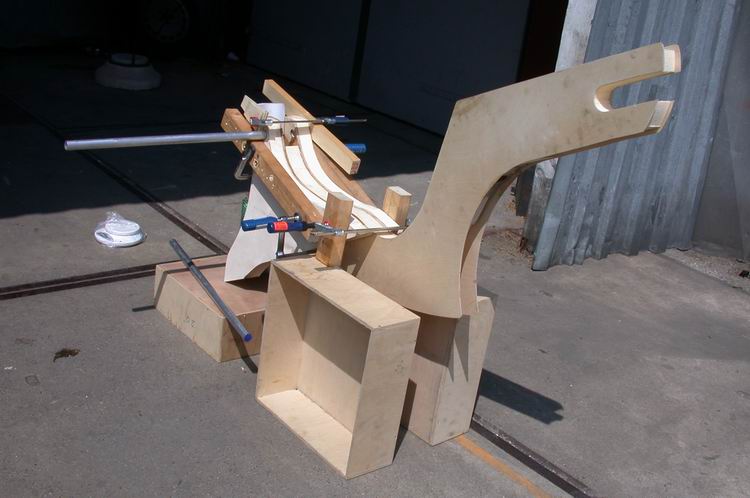
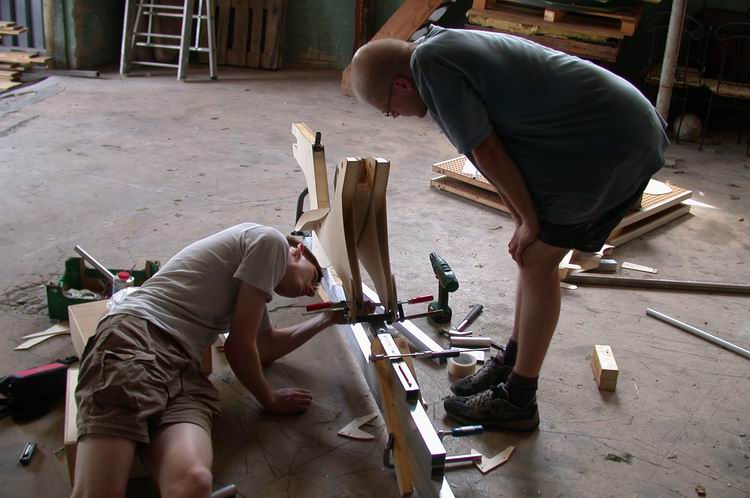
Paddy is aligning the rear fork of his recumbent.
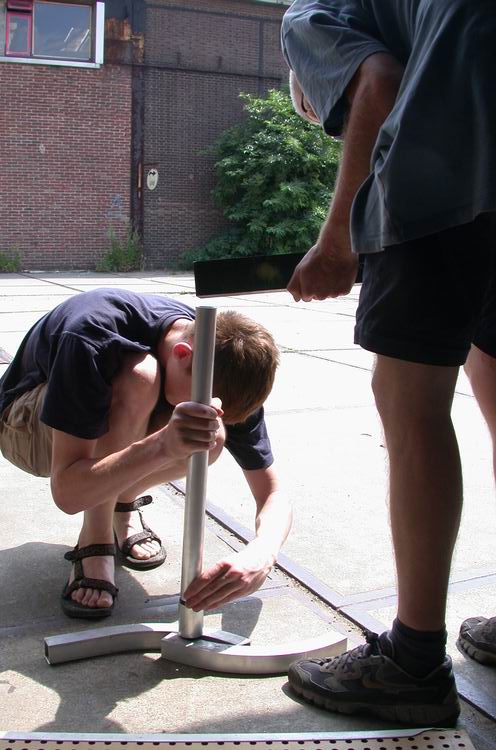
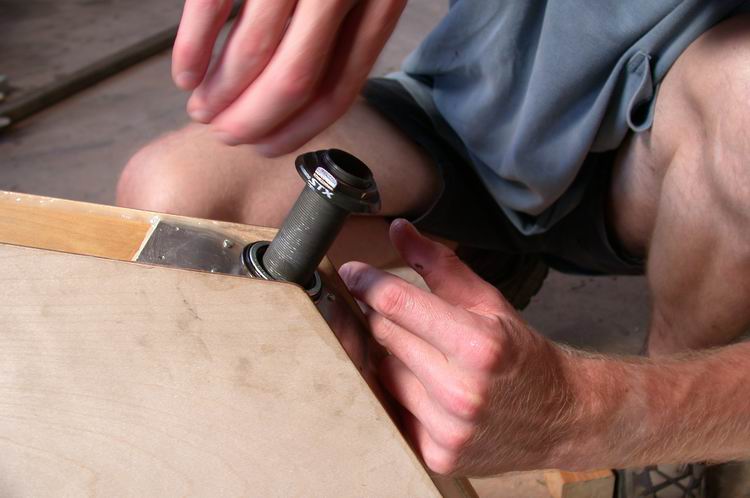
Using a heavy steel beam to press the bottom bracket into the aluminium bottom bracket tube.
Evina's adjustable bottom bracket and head tube are glued.
Evina is preparing epoxy to glue the rear fork onto the frame.
Evina's glued rear fork is drying.
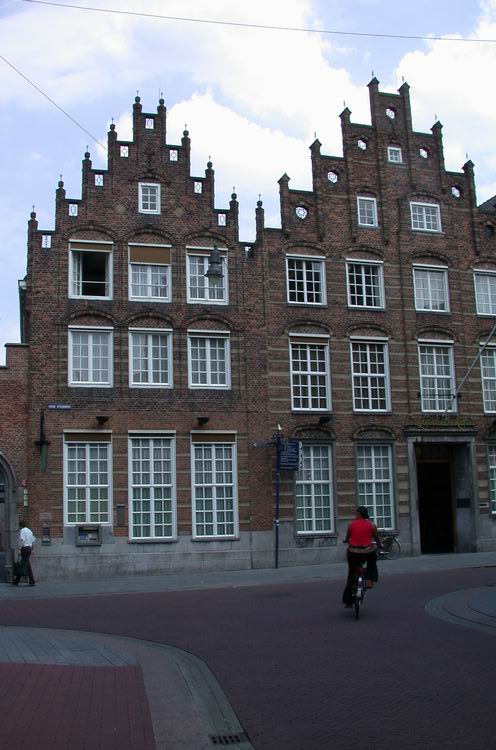
Picturesque facades in Den Bosch city centre.
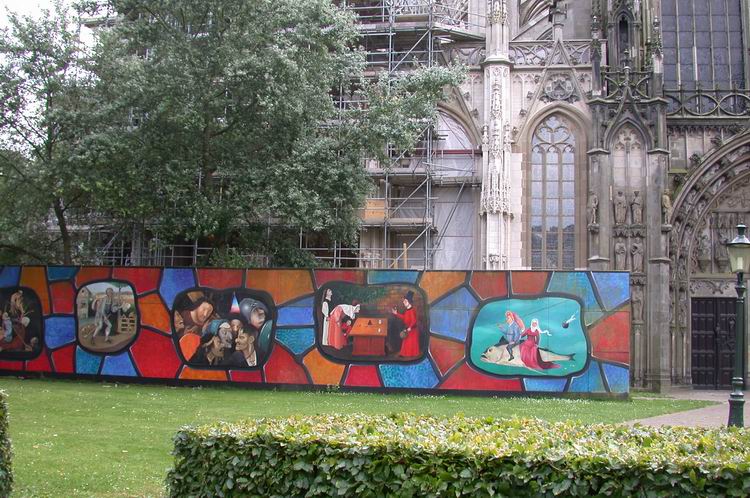
There was a colourful fence around the St. Jan Cathedral because of restauration works.
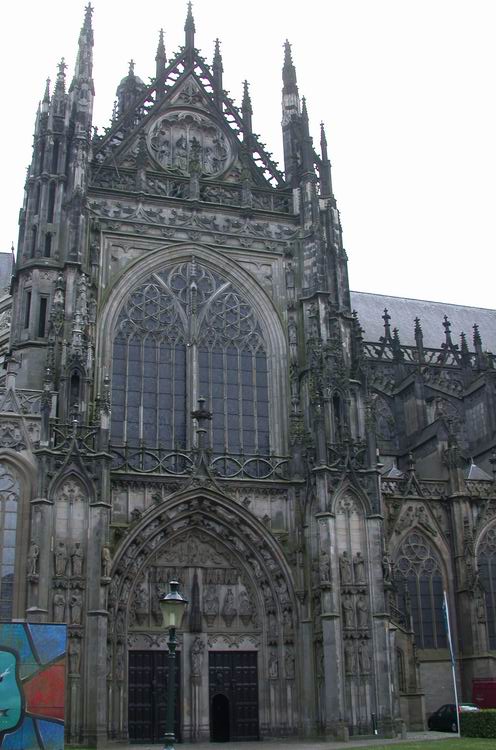
St. Jan Cathedral in Den Bosch.
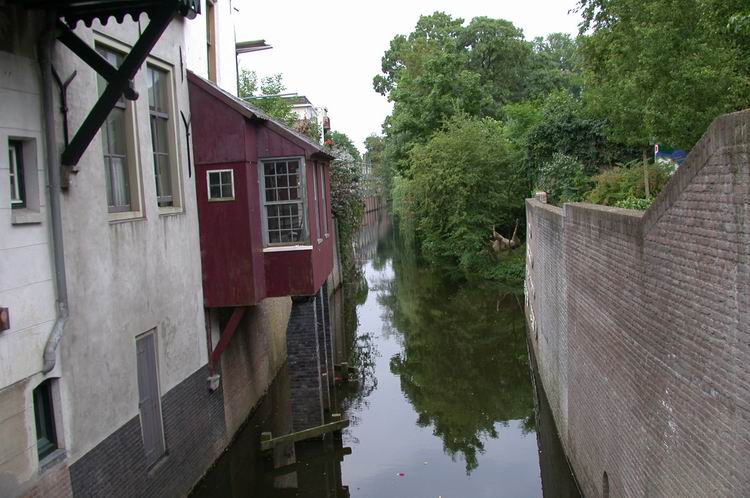
Canal in the city centre of Den Bosch.
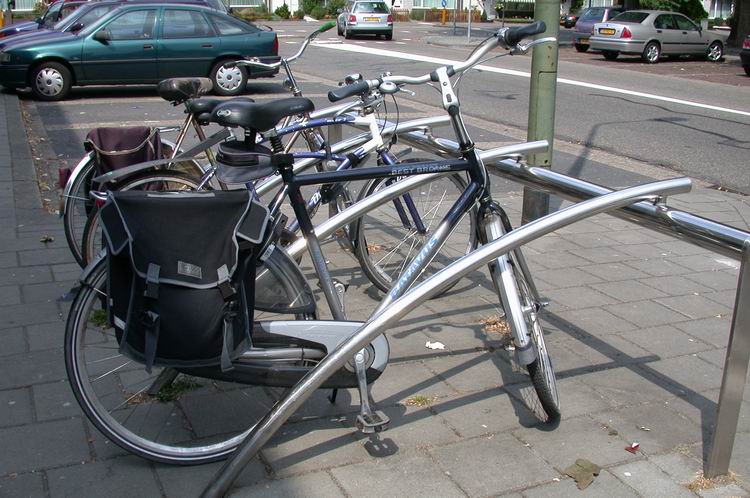
Bicycle parking in Den Bosch.
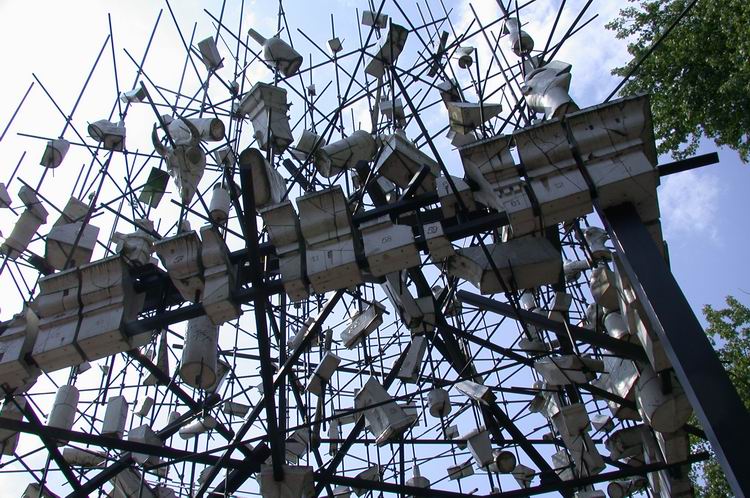
Sculpture from the European Ceramic Work Centre.
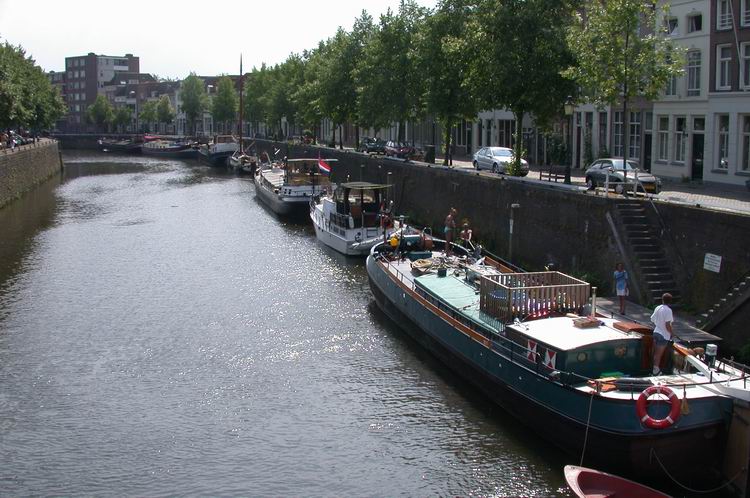
Boats in a canal in Den Bosch.
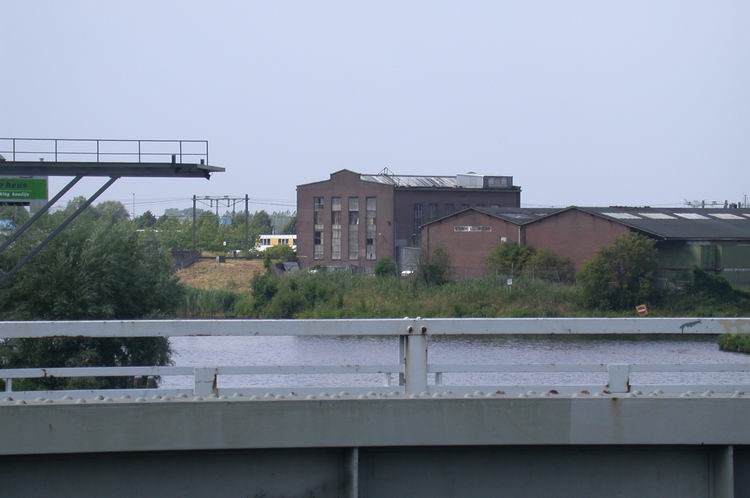
In the higher building in the centre of the picture we had our workshop.
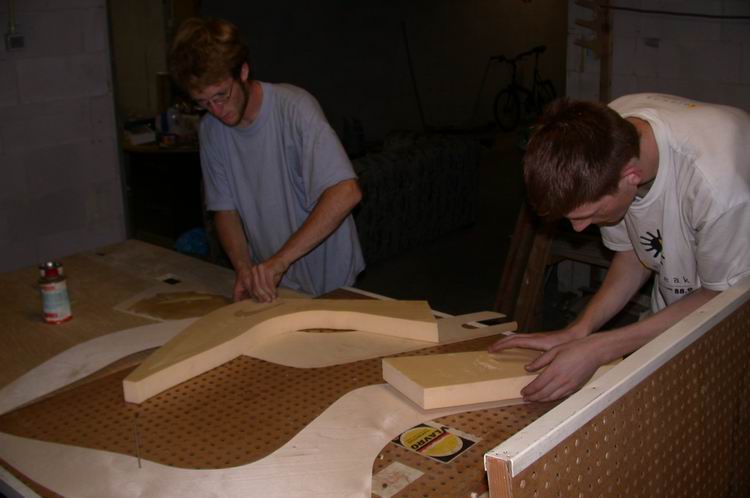
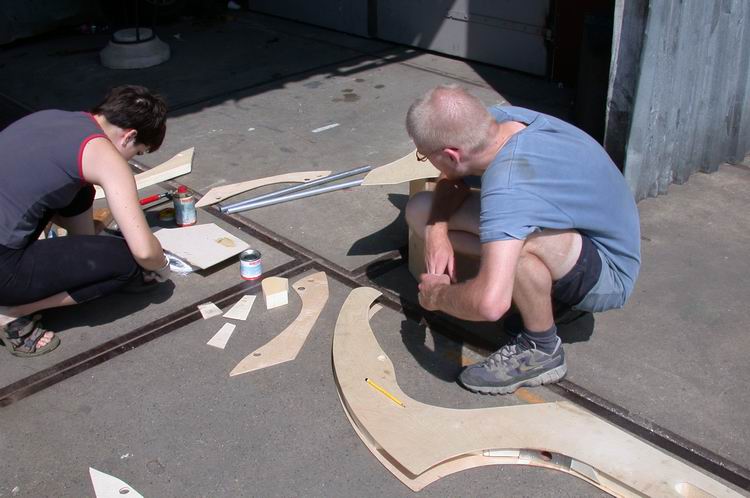
Glueing the foam and plywood parts of the frame together.
To avoid bending of the front of the frame I glued in a 5 mm thick plywood rib.
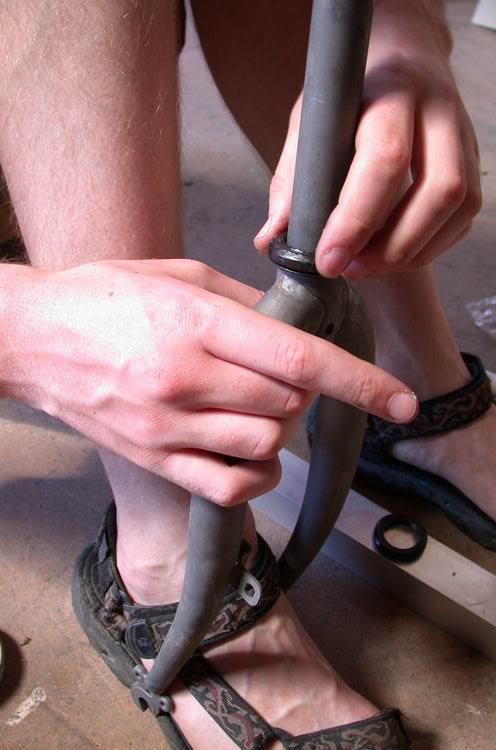
Putting the bearing cup onto the steerer tube.
Completing the headset.
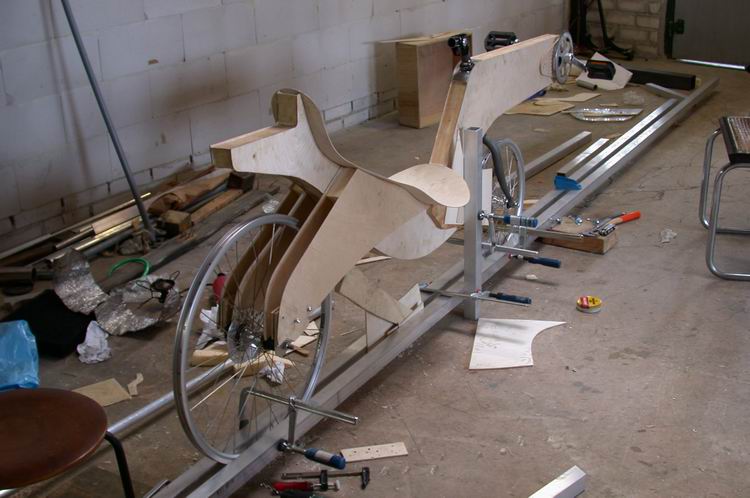
Figuring out how to align Evina's recumbent.
Aligning and glueing the rear fork of Evina's recumbent.

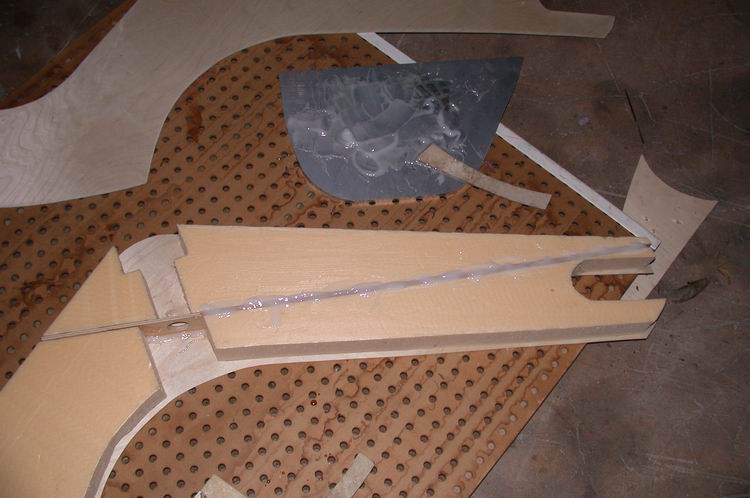
This is how we constructed the head tube.

Evina is glueing a modified seat onto hear bike. The first seat wasn't very comfortable unfortunately.
Glueing the head tube and the plywood strokes around the edge of the frame.
Honza grinded his frame smooth to absolute perfection.
Evina is preparing epoxy on a scale.
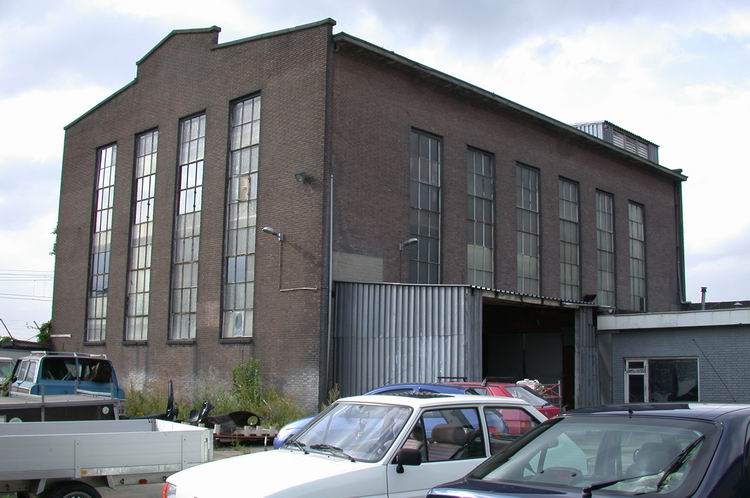
Approximately two-thirds of this building we could use as a workshop.

Dropout construction of the rear fork. This one has a mounting hole for the rollerbrake lever. The plywood parts were later glued onto the plywood sheets that formed the rear fork.
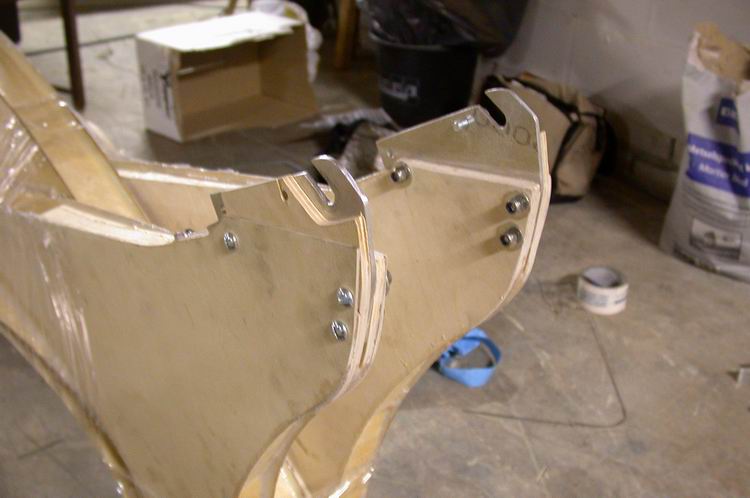
Dropouts in Evina's recumbent.
Sometimes it's good to stop working and smile to the camera.
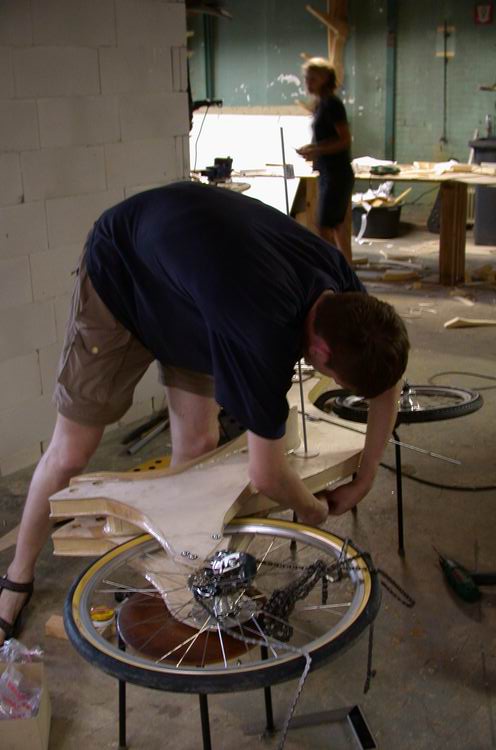
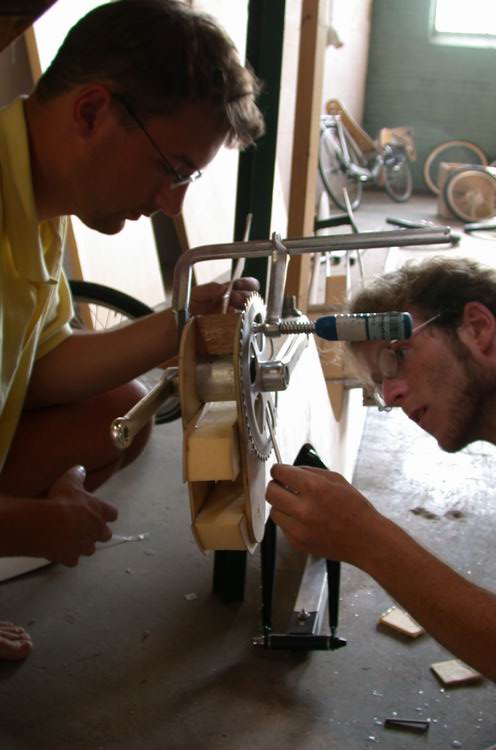
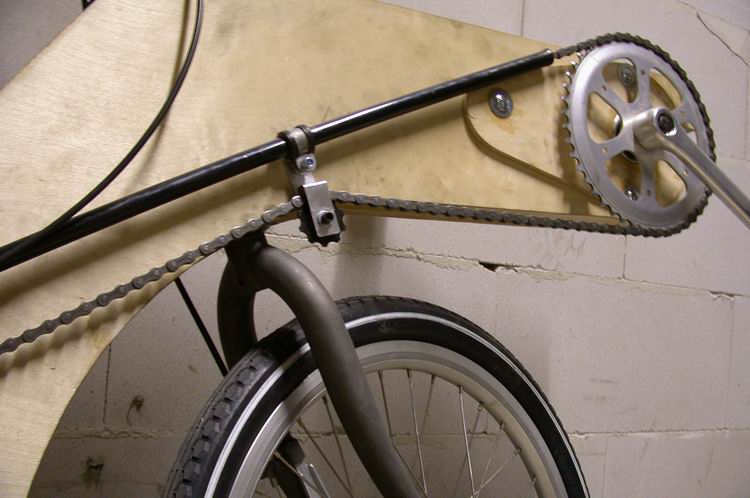
I'm assembling the chain guide wheel on Evina's bike.
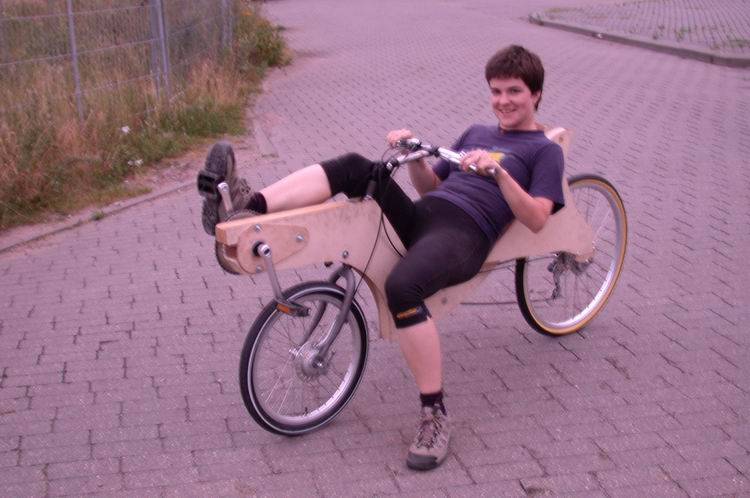
Evina is testing her first recumbent.
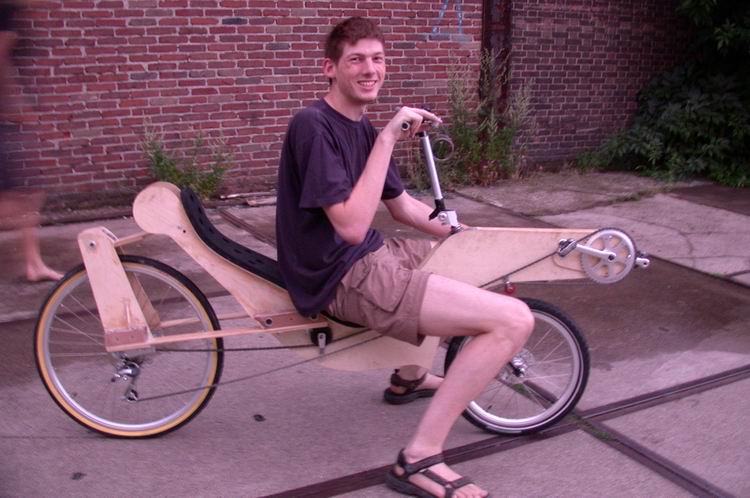
I'm testing Paddy's leafspring recumbent.
Honza is aligning his bike.
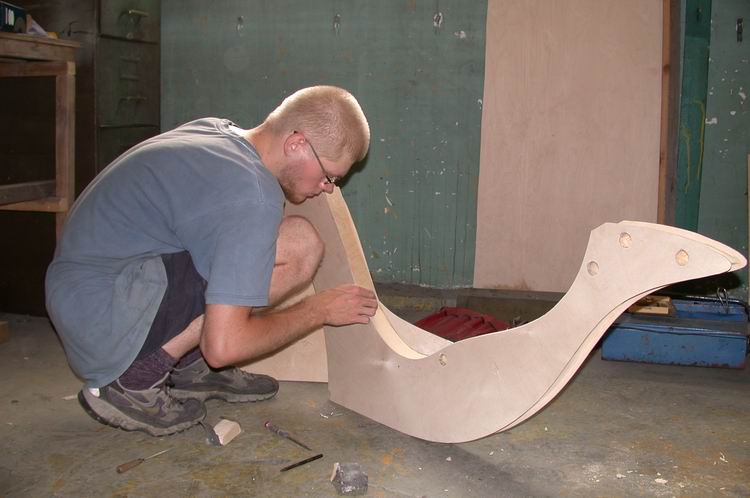
Honza glued the plywood strokes around the edge of the frame. By pieces of foam and tape the strokes are kept in place.
Evina's recumbent.
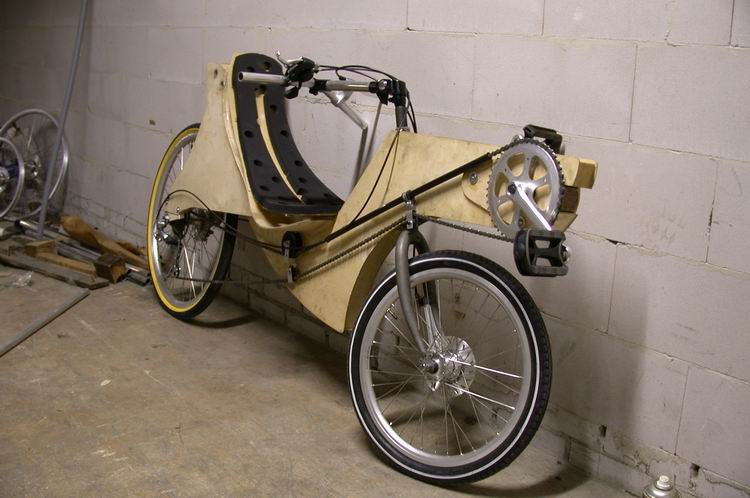
Evina's recumbent.
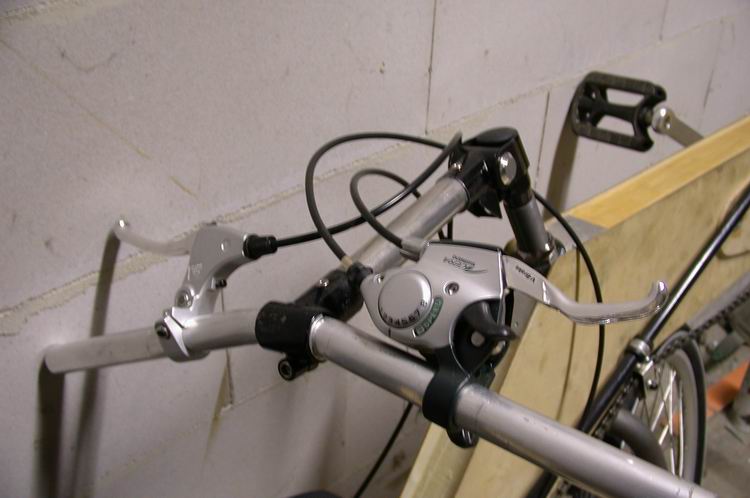
Handlebar of Evina's recumbent. We modified mountainbike suspension stems to adjustable folding stems.

Lotte is working on the rear fork of another plywood bike.

Honza is assembling and adjusting his bike.

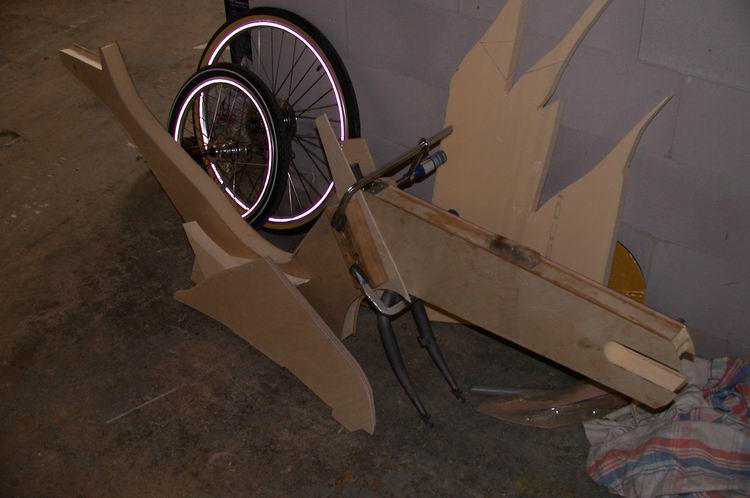
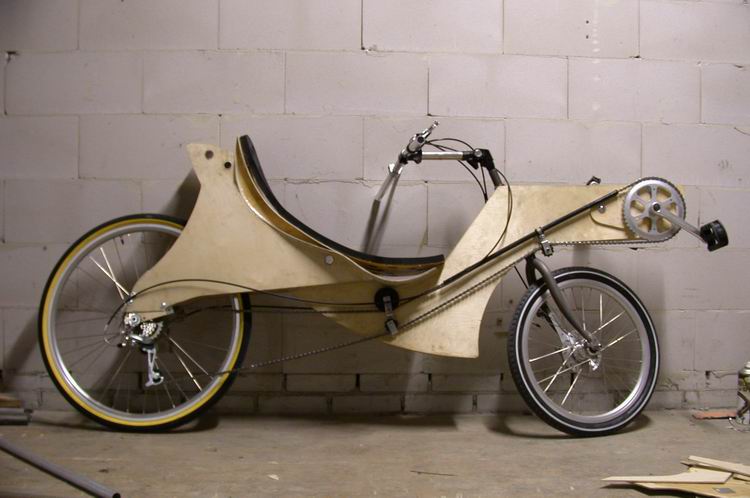
Paddy's leafspring recumbent.
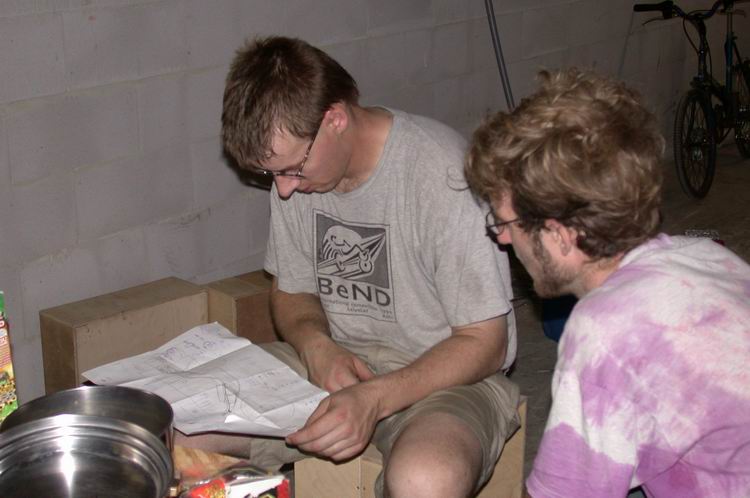
Calculating how much money each of us spent during the workshop.
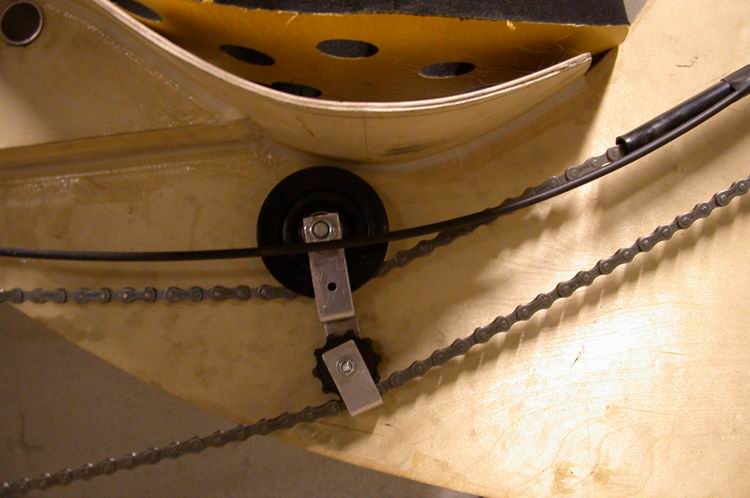
Chain guide wheels under the seat of Evina's recumbent.
Guiding the chain along the frame. The small derailler wheel was quite noisy so I replaced it later by a toothless chain guide wheel with ball bearings.

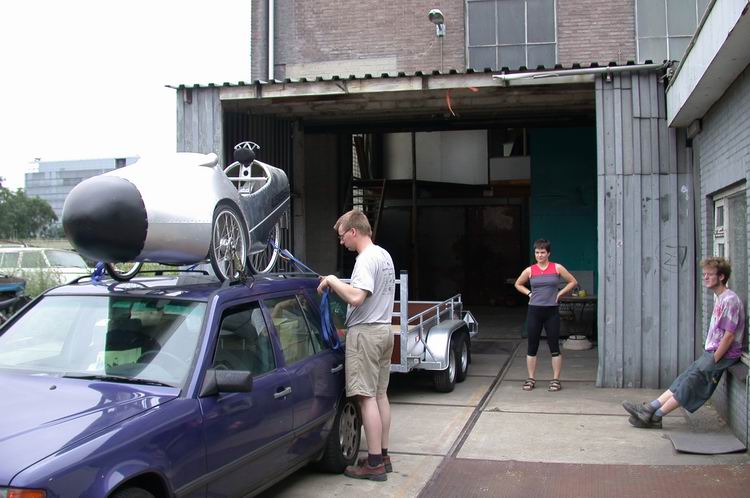
Fully packed Škoda Favorit: 2 wooden recumbents, one mountainbike and two people and their luggage...(2)
Aligning my bike before glueing the rearfork.

My recumbent was functionally finished, so I took it outside for a test ride.
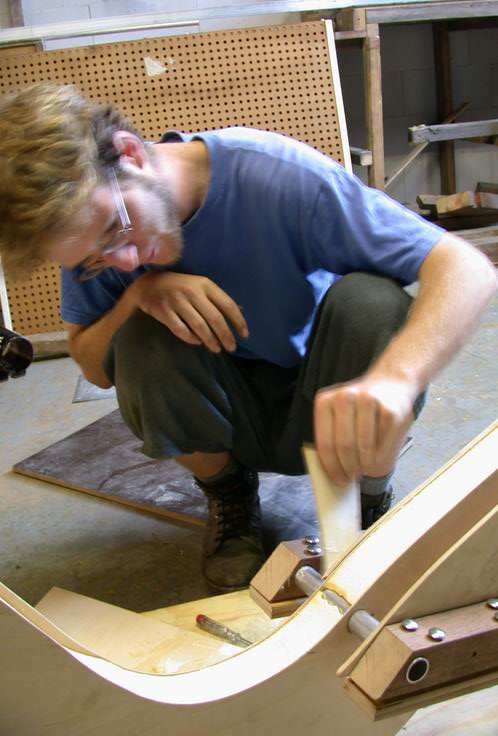
By sanding I removed the spilled epoxy from the frame.
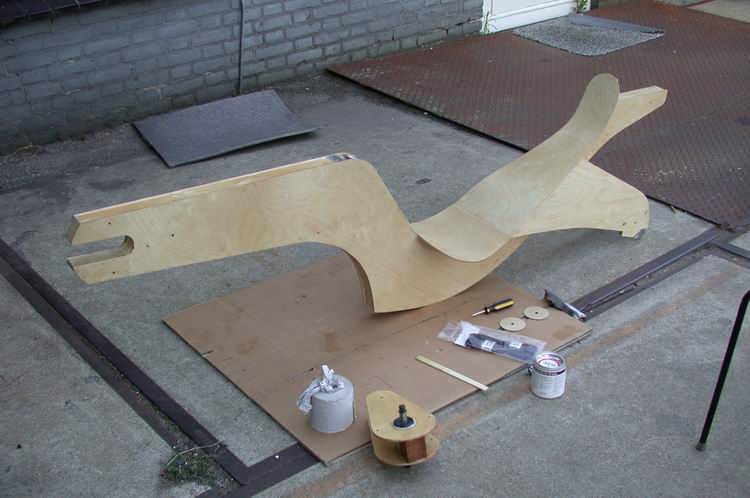
A clean and lightweight plywood-foam frame. (Weight of the finished bike 14,8 kg)
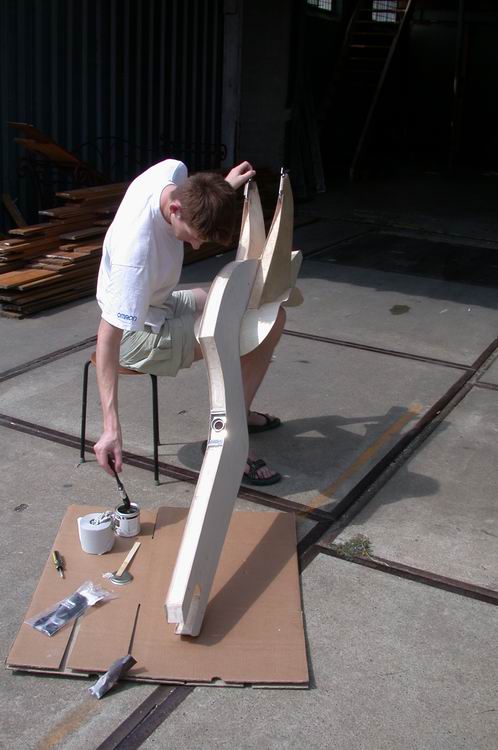
I'm varnishing my frame.

The frontfork is drying after a primer paint is applied.
The frame is covered by 2 layers of varnish.
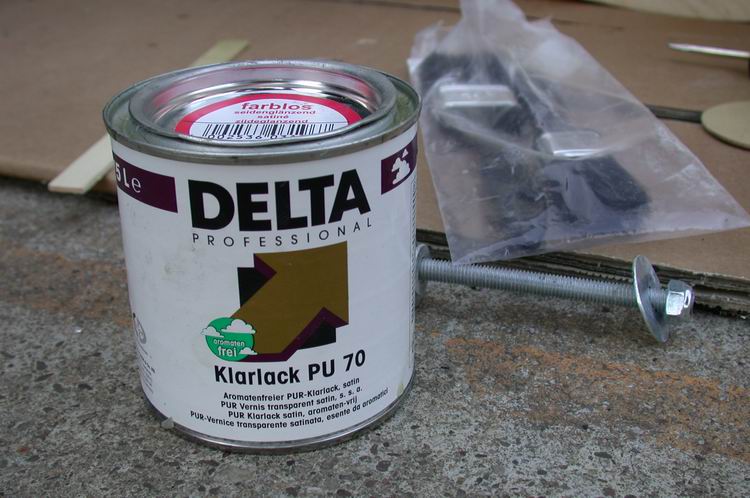
I used this PU varnish for the frame of my recumbent.
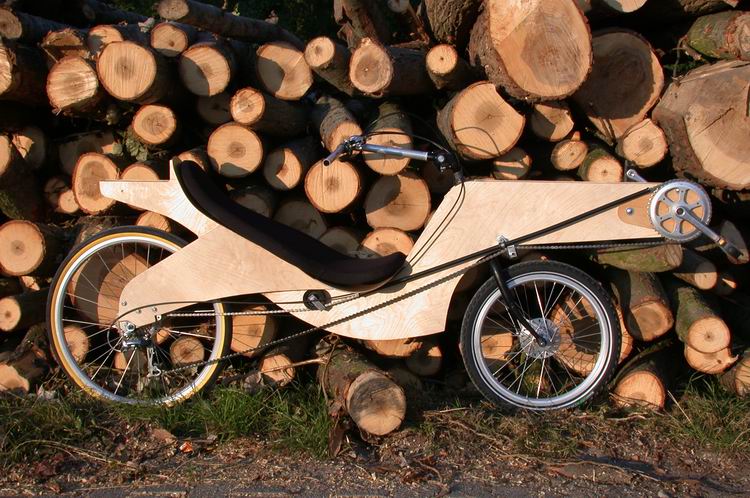
Back in Delft I noticed this scene. The trees would soon be transported away so I took this picture with the bike still unfinished.
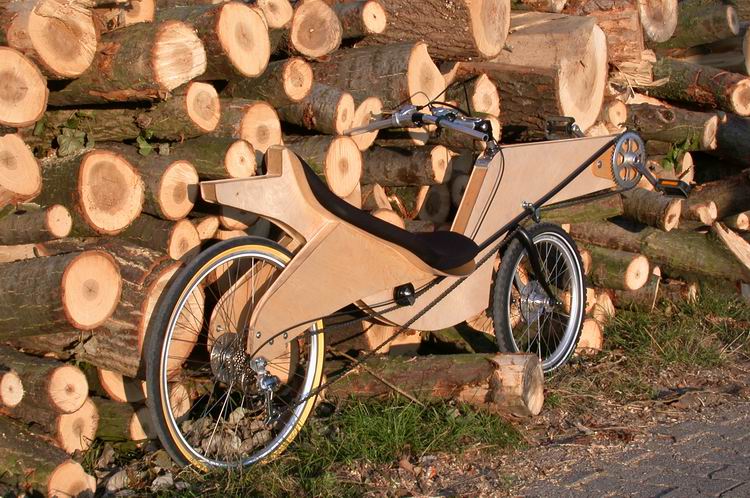
Maybe, in the future, these trees will also become a recumbent...